10 Tips to Shoot Vivid Sydney
A Beginner Photographer’s Guide to Capturing the Magic of Light
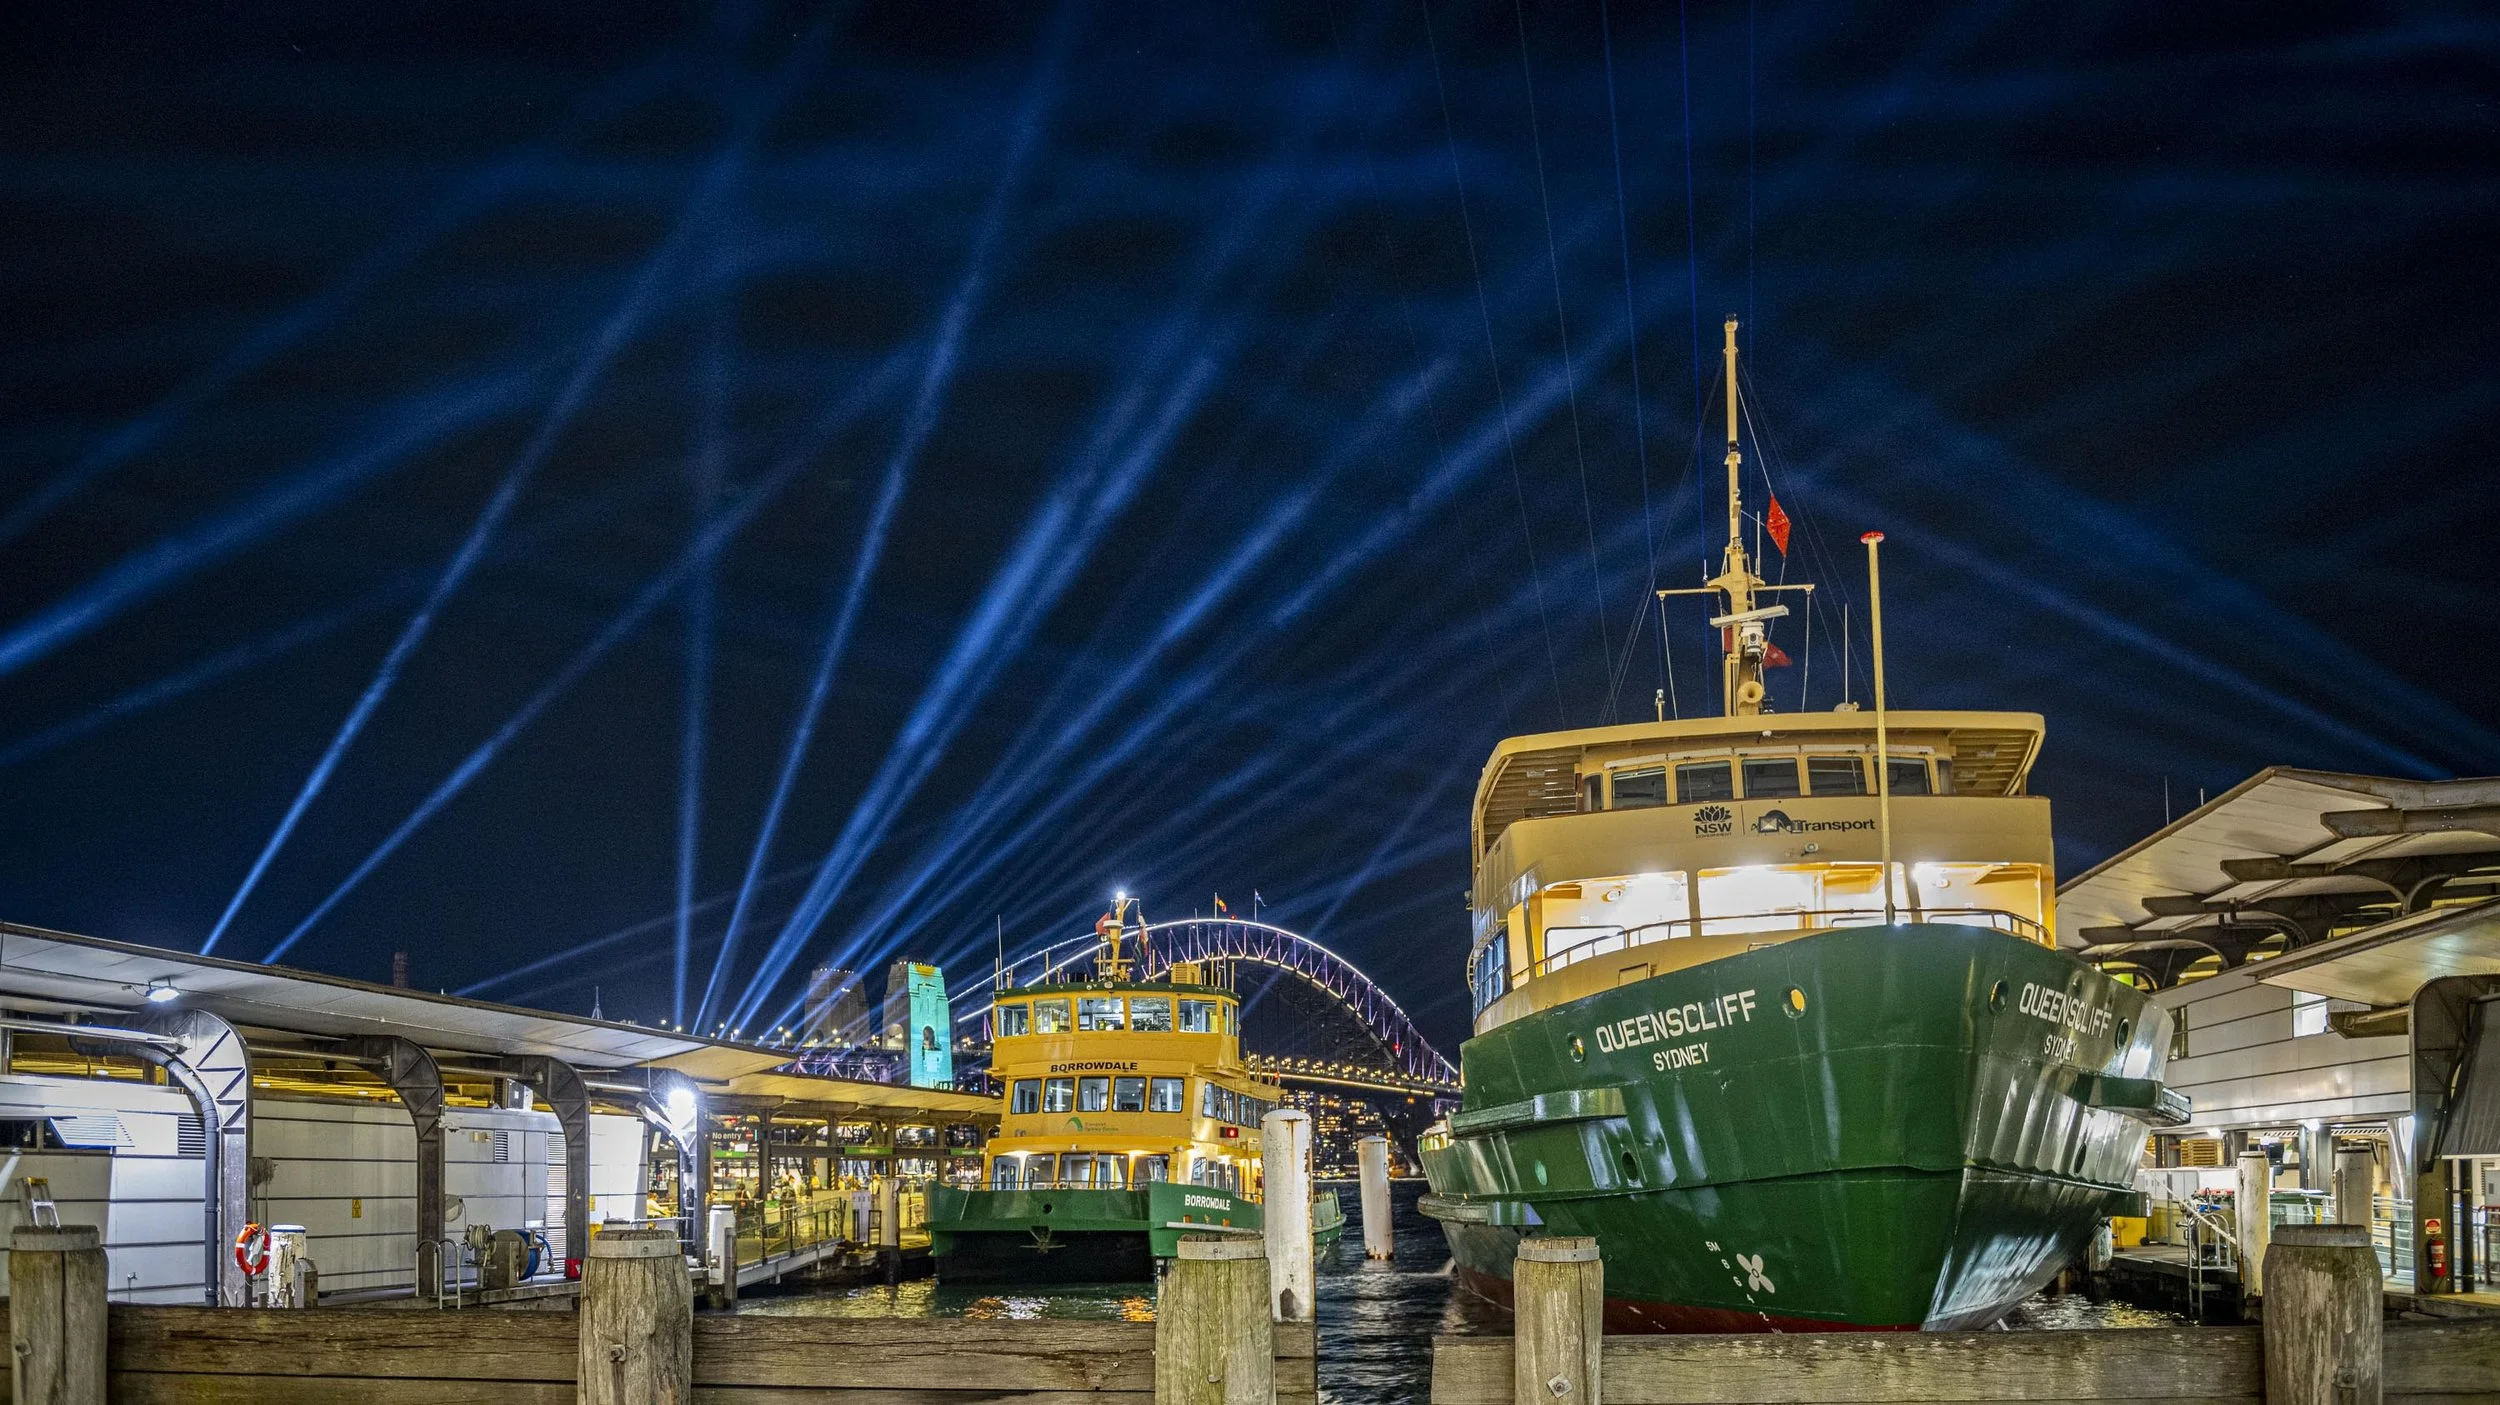
Vivid Sydney is one of those events that can completely change the way you see a city. Every year Sydney transforms into a giant outdoor canvas filled with light projections, interactive installations, music, creativity and colour. Iconic locations like the Sydney Opera House, Harbour Bridge and Circular Quay suddenly become part of the artwork itself. It is much more than a light show — it is a city-wide experience.
Before heading out, I strongly recommend checking the official Vivid Sydney website: Vivid Sydney Official Website
The website includes maps, attractions, event details and updates that will help you plan your evening before you even leave home. Trust me, a little planning goes a long way.
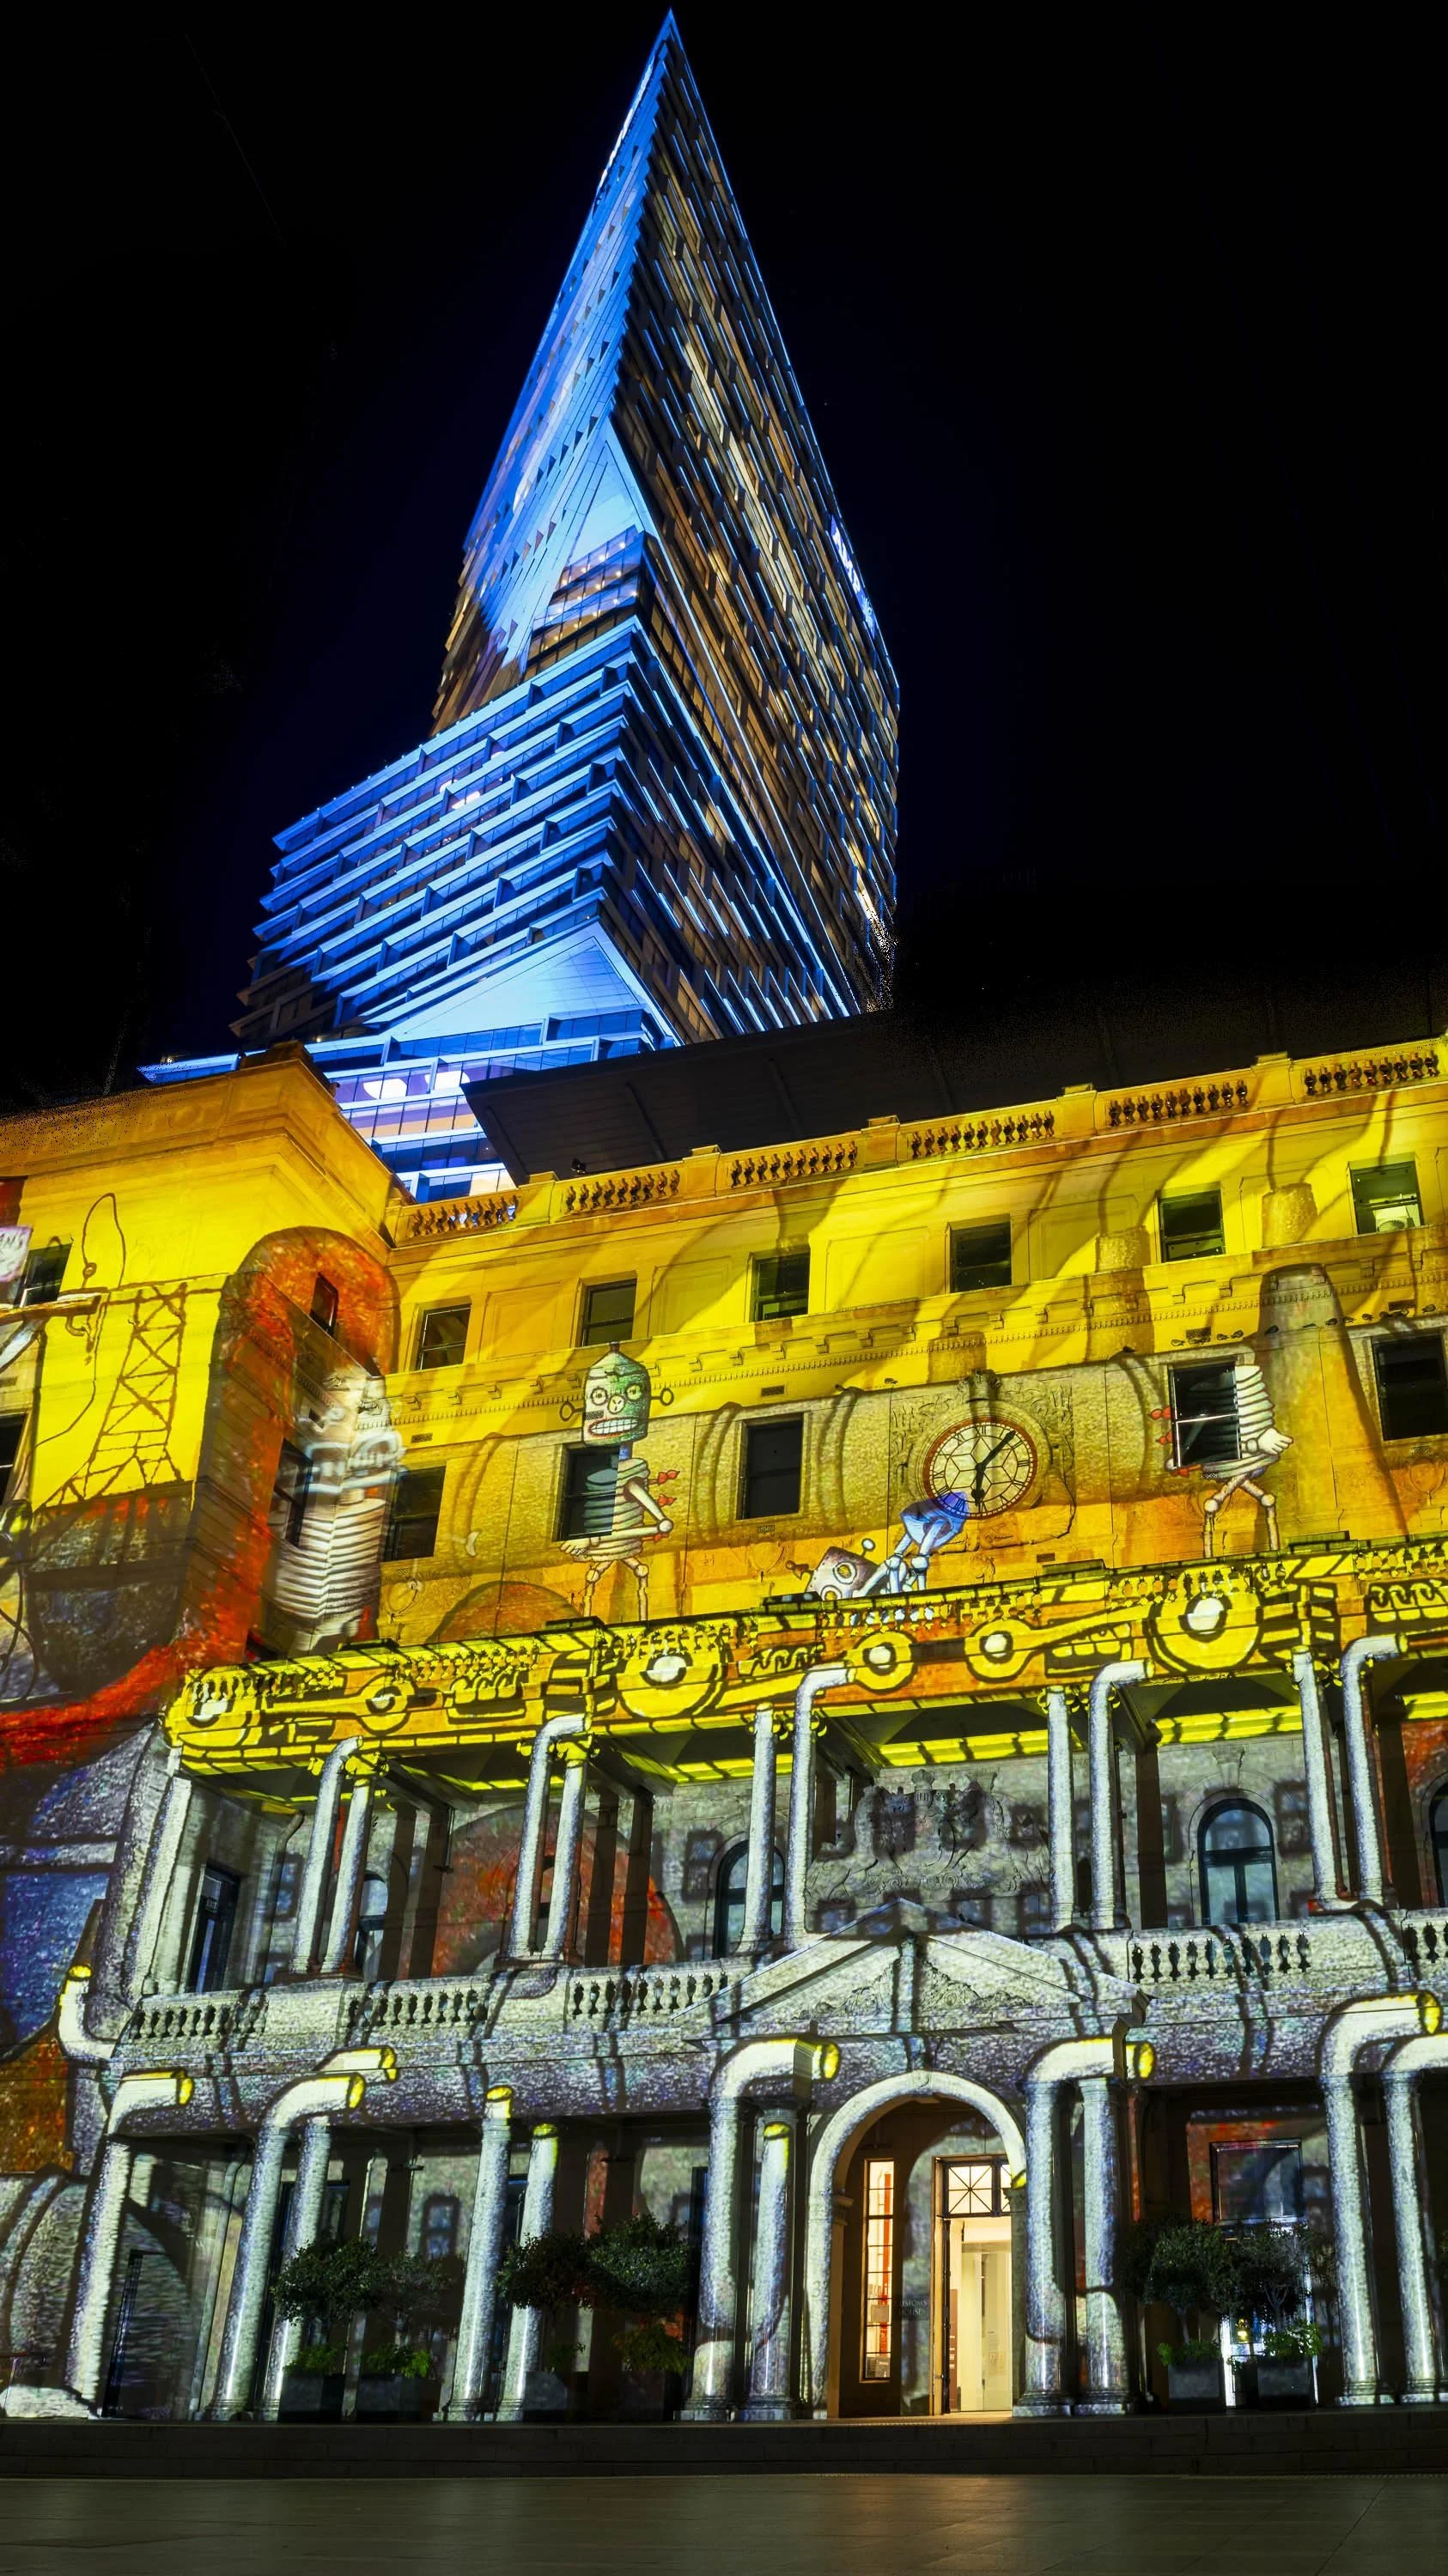
For beginners, though, Vivid can also feel overwhelming.
Bright lights, changing conditions, moving crowds and endless photo opportunities can quickly make you feel like you need to photograph everything.
You don't.
You will not see the entire event in one night, and that's perfectly okay.
The good news? You do not need the biggest camera or most expensive gear to create amazing images. As I’ve mentioned before in my blog about choosing your first camera, learning how to use what you already have is where the real magic begins.
Let me share ten tips that will help you get the most out of your gear, your creativity and your night out shooting Vivid Sydney.
“Photography is not about owning the most expensive gear. It’s about learning to make your gear work for you.”
1. Pack Smart, Not Heavy
For Vivid I would usually carry only two lenses:
📷 Wide-angle zoom (14–24mm or 24–70mm)
📷 Mid-range zoom (70–200mm)
The wide-angle helps capture the huge installations and city scenes, while the longer zoom lets you isolate details and compress scenes from further away.
Don't be afraid to change lenses. Some of my favourite images have come from switching perspective rather than standing in the same spot all night.
Other essentials:
🔋 Spare batteries
💾 Extra memory cards
🔭 Tripod
💧 Water bottle (trust me — avoids standing in long queues)
🧥 Warm clothing
🧽 Lens cloth
June evenings around Sydney Harbour can get surprisingly cold, especially near the water or if rain rolls through.
2. Slow Down and Have a Plan
You are not going to cover the entire Vivid event in one evening.
Accept that early.
Instead, have a simple plan:
📍 Pick where you're arriving
📍 Pick where you're departing
📍 Navigate between those points
Take your time along the way.
Don't rush from installation to installation shooting whatever appears in front of you.
The official Vivid website includes maps, attractions and event details that make planning easy.
Midweek nights are usually one of my favourites too.
Fewer crowds.
Easier movement.
Less waiting.
3. Visualise Before Pressing the Shutter
Before I even touch the camera, I try to picture the final image.
Ask yourself:
Do I want movement?
Do I want stillness?
Do I want people blurred?
Do I want sharp detail?
Planning your result helps determine your settings.
For example:
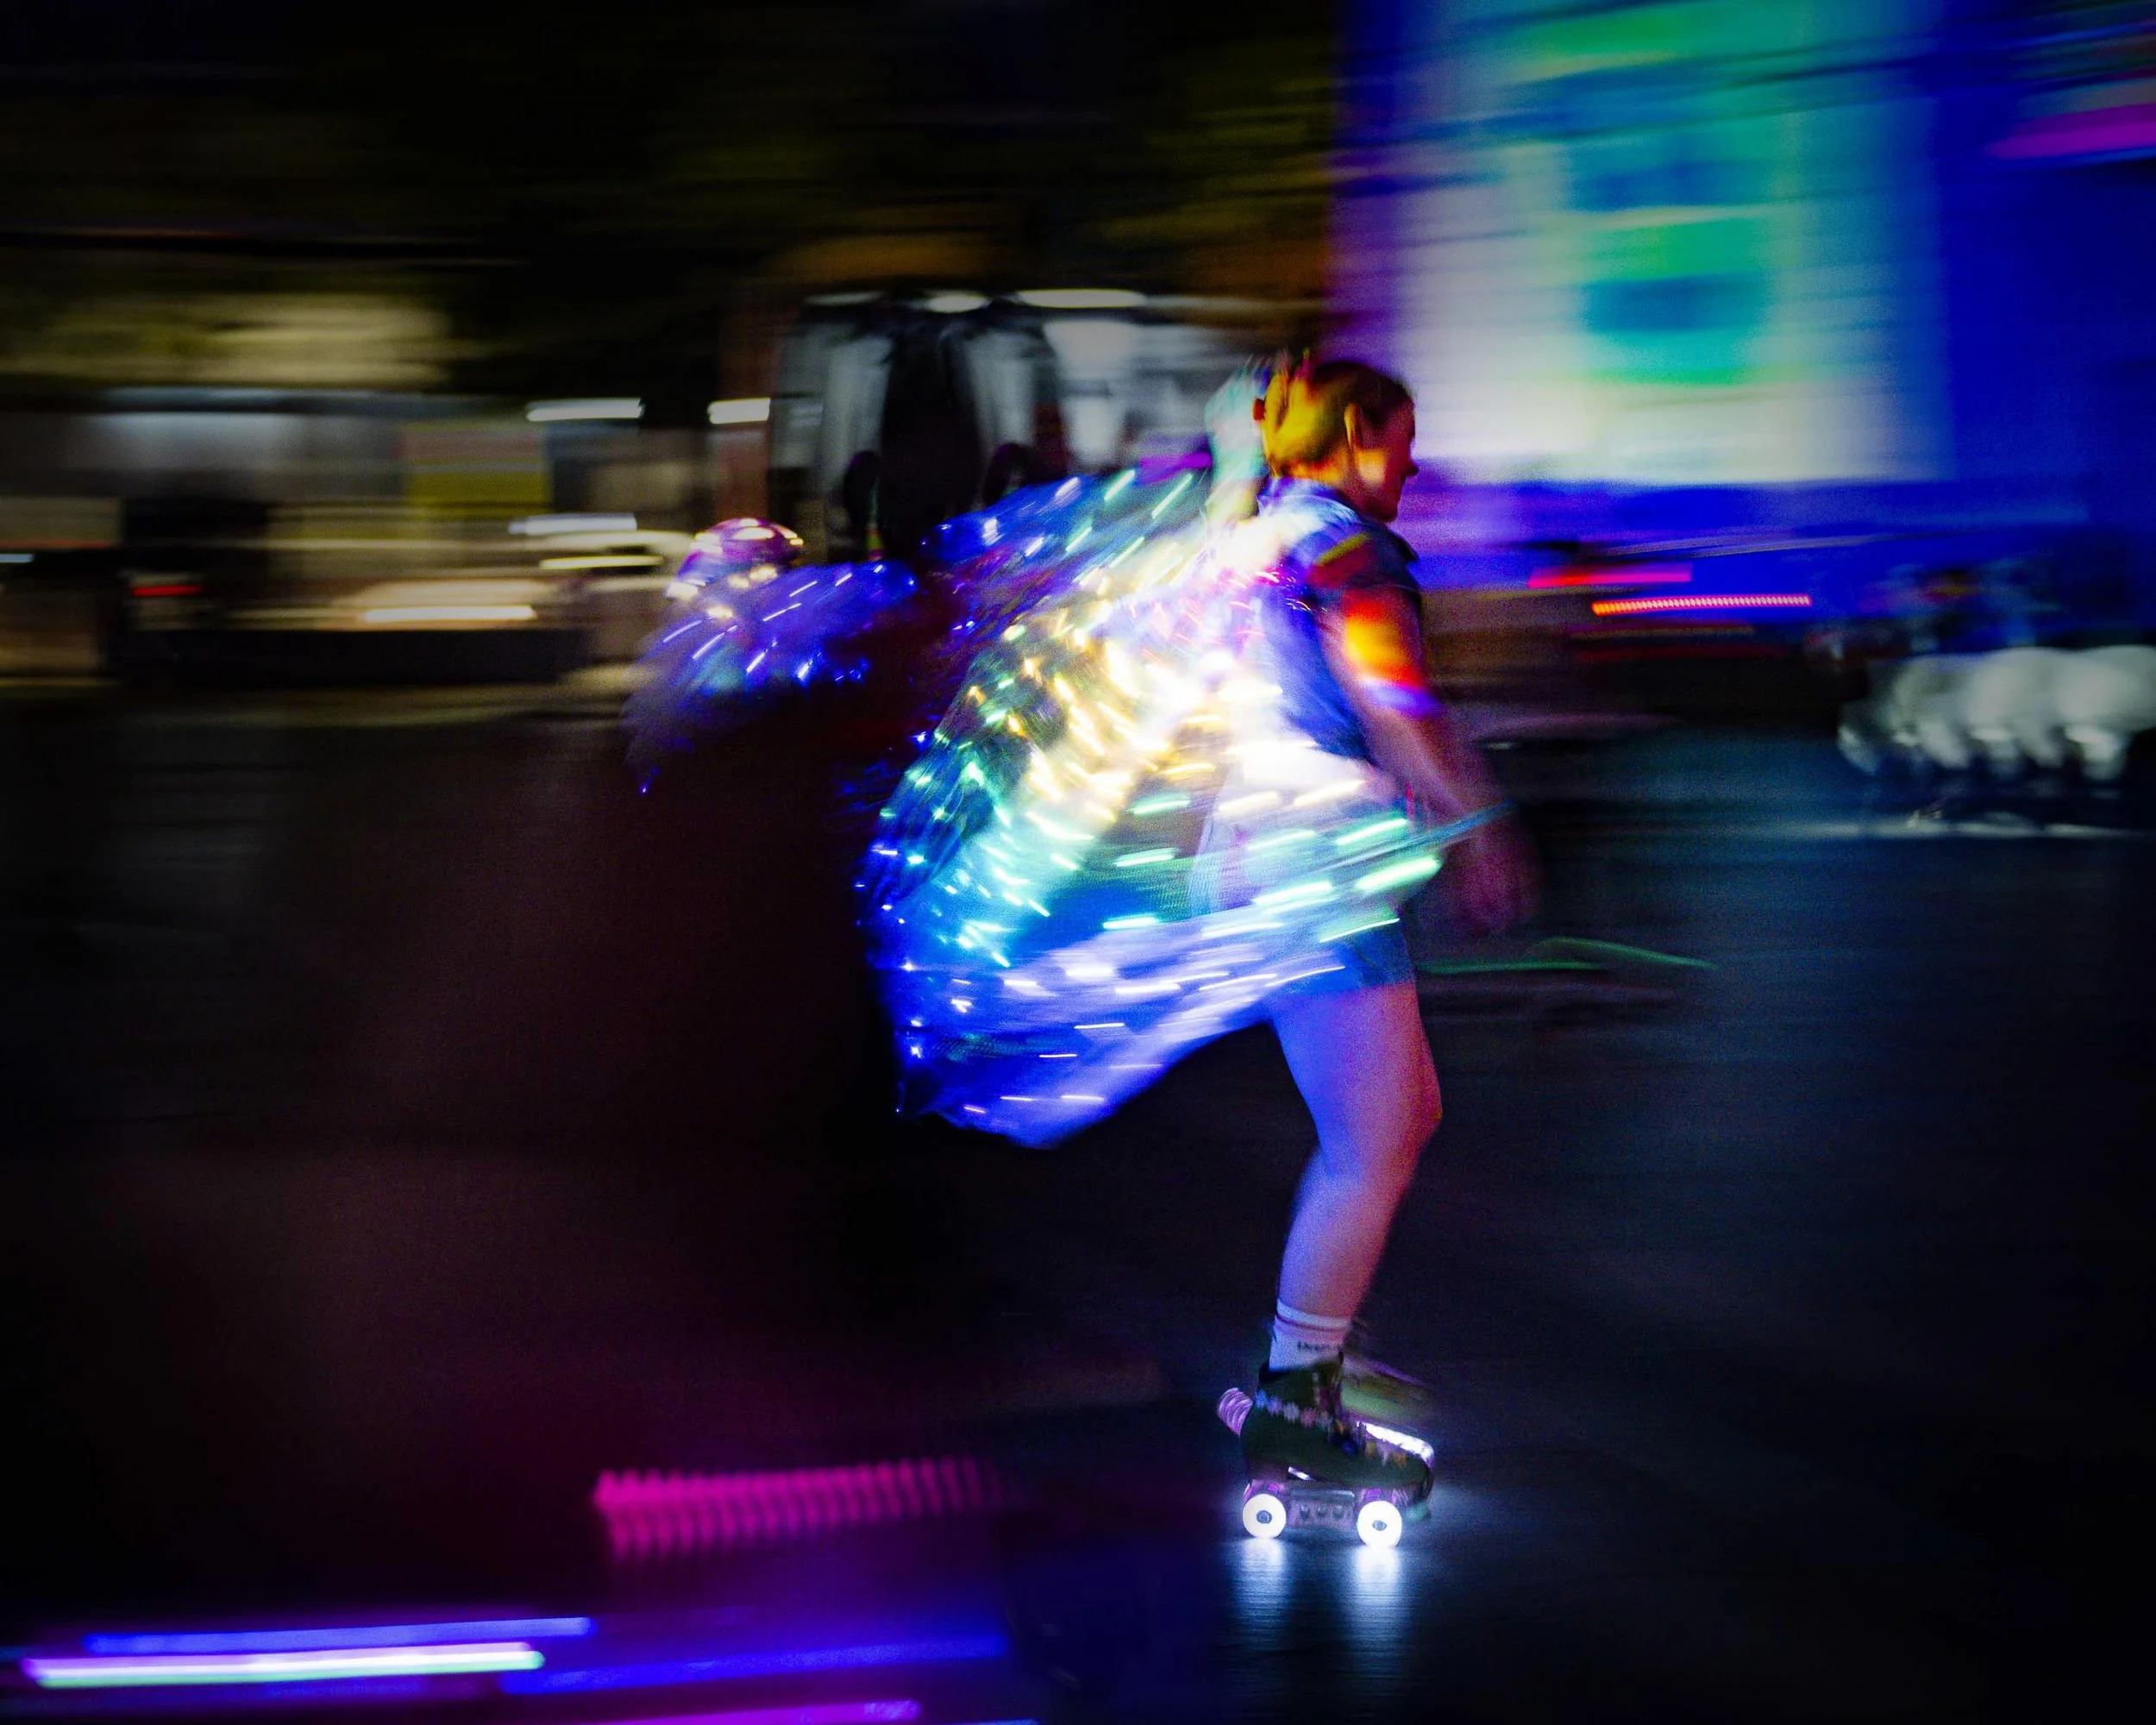
Long shutter speeds:
✨ Light trails
✨ Motion blur
✨ Flowing movement
Short shutter speeds:
⚡ Freeze people
⚡ Freeze performers
⚡ Capture sharp action
Shorter shutter speeds often mean increasing ISO at night to maintain enough light.
Know the story you want before chasing the settings.
4. Buy a Good Tripod
A quality tripod becomes one of your best investments for night photography.
Look for:
✔ Stable legs
✔ Minimal vibration
✔ Strong locking points
✔ Lightweight enough to carry all night
Cheap tripods often introduce small movements you may not notice until you get home and realise your image is slightly soft.
But don't think tripod means rules.
Try handheld shots too.
Move the camera while shooting.
Pan with people.
Create something strange or funky.
Some of the most interesting Vivid images happen when you break the "tripod only" rule.
5. Turn Ordinary Into Something Different
One thing Vivid gives you is endless opportunities to create something that not everyone else is shooting.
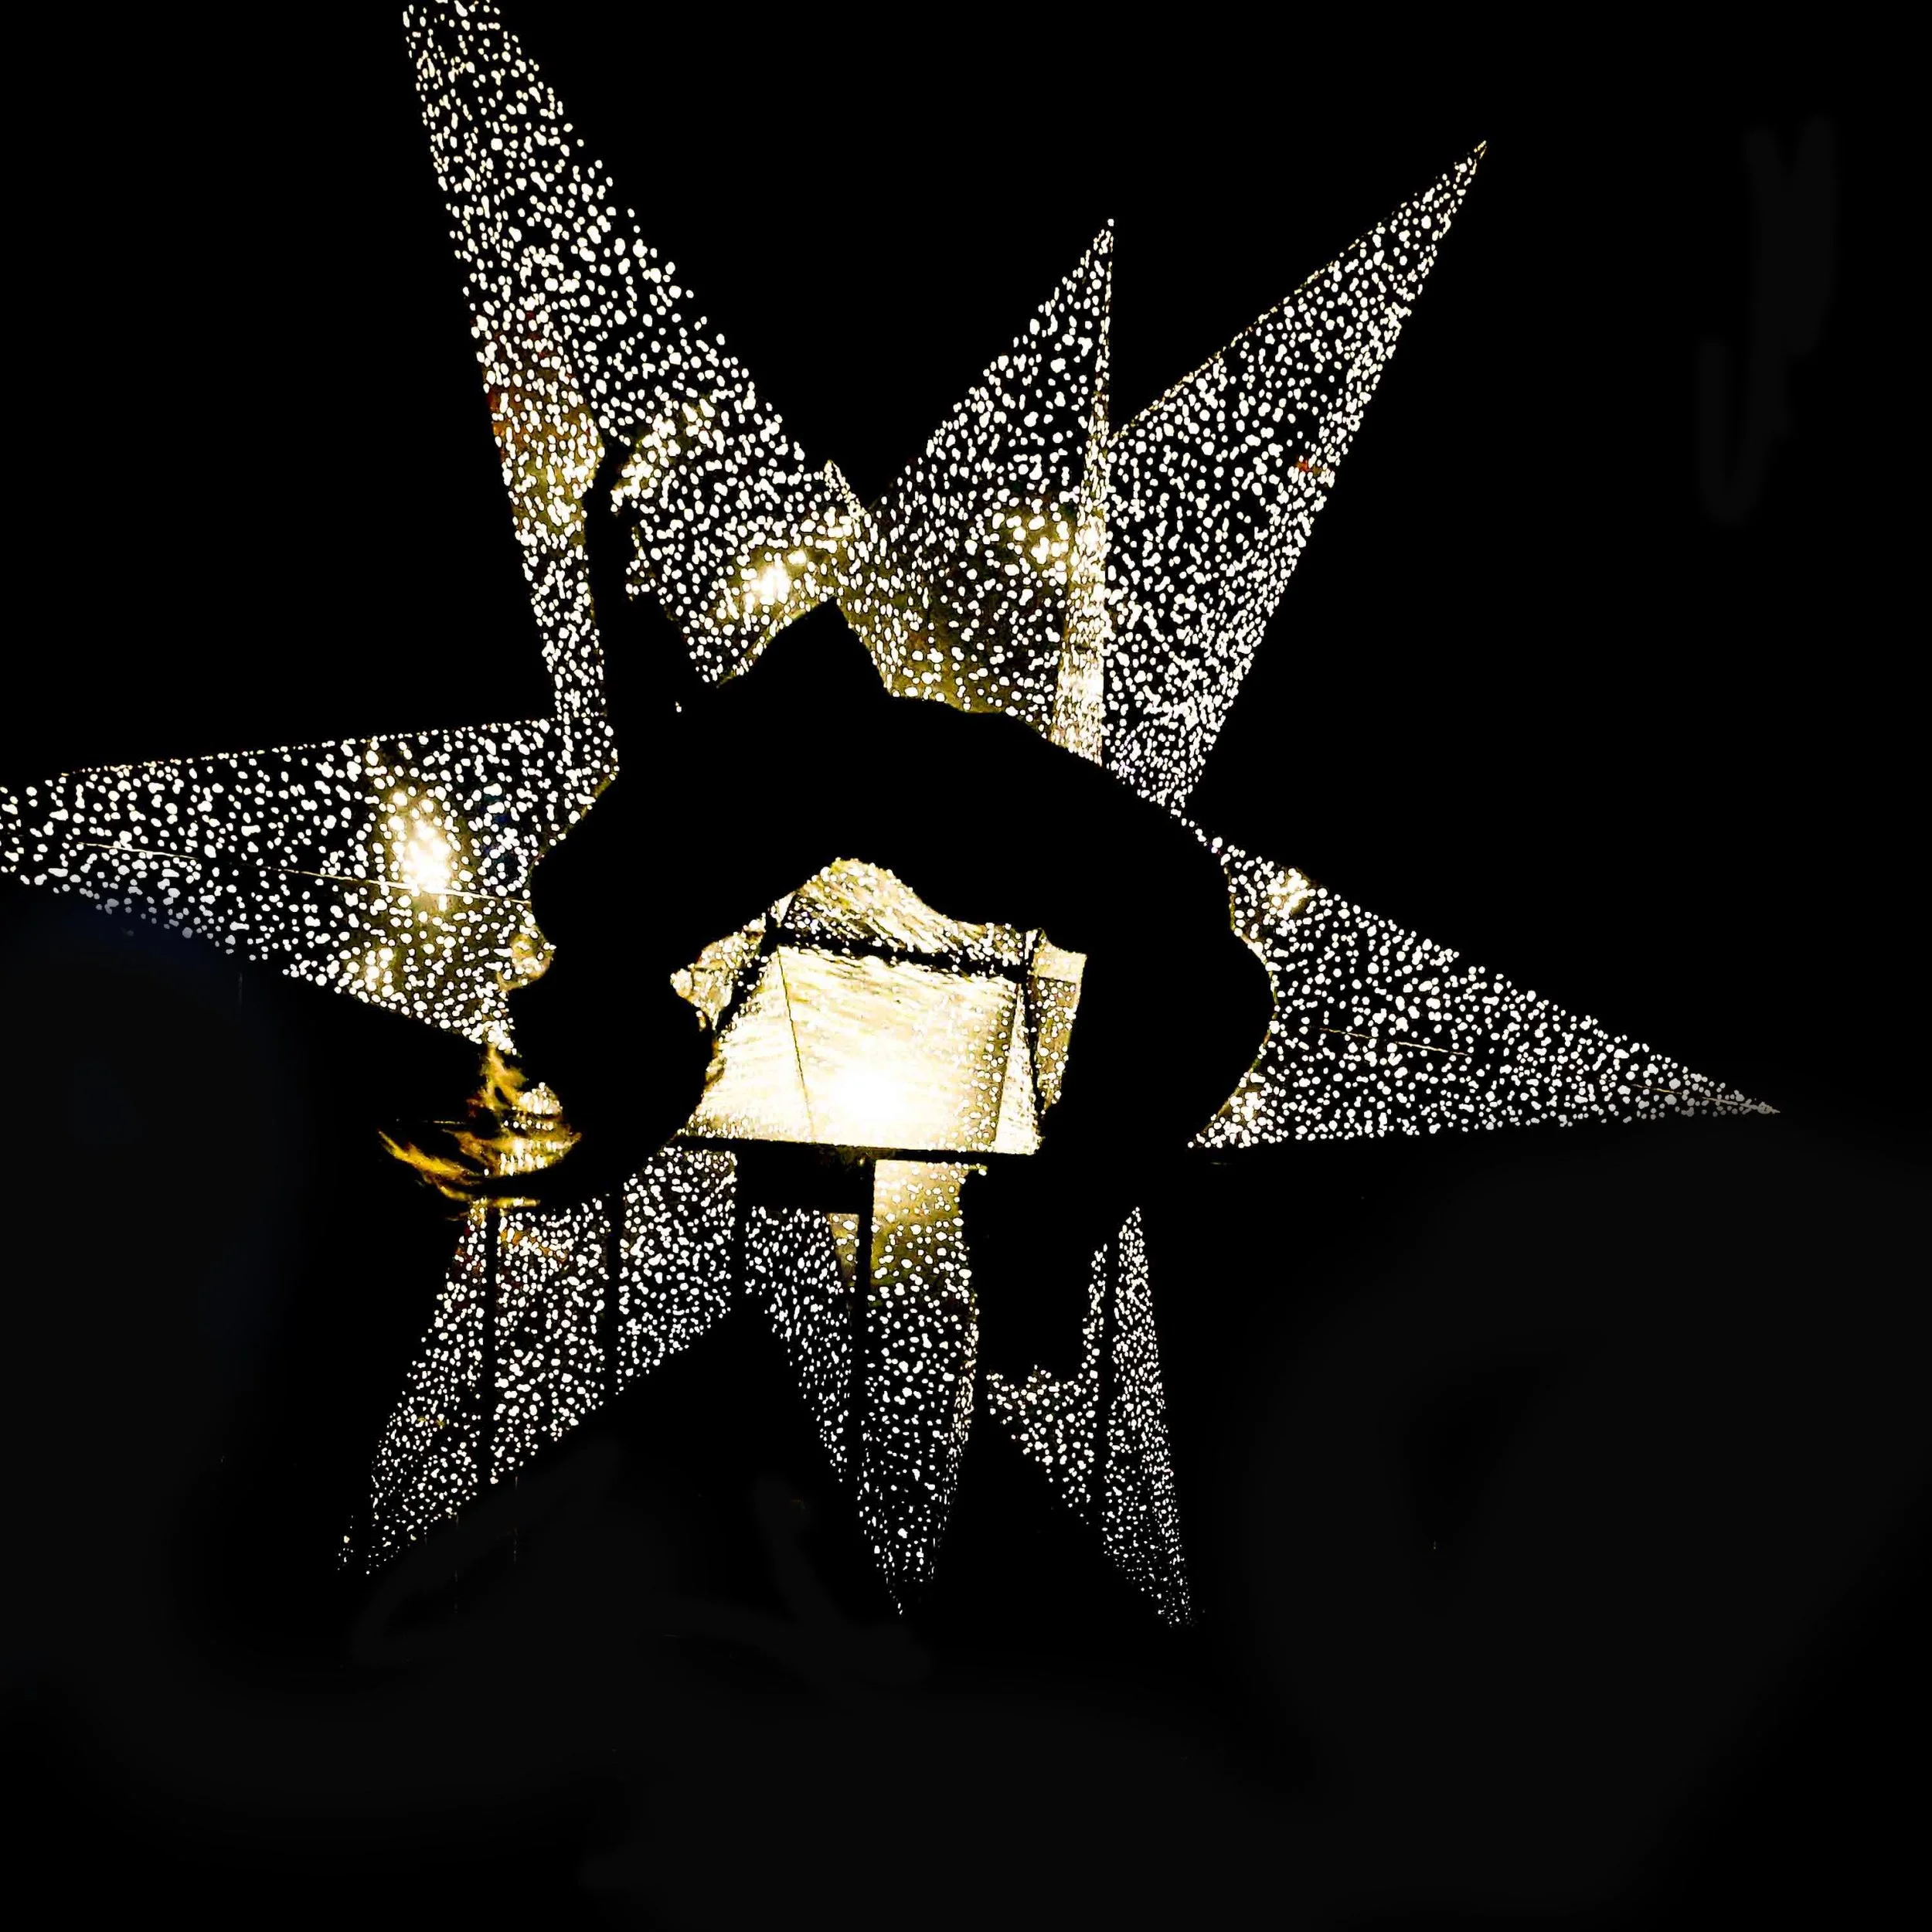
This image actually came from one of my own Vivid PhotoWalks. We came across what was essentially a static light display. Nice enough… but if I’m honest, everyone was walking past taking almost identical photos.
One of the younger photographers on the walk happened to be into parkour and casually offered:
"Want me to do a backflip?"
Absolutely.
Suddenly the scene changed.
Instead of photographing a stationary display, we now had movement, timing and energy. The silhouette of the backflip against the lights created something completely different — something you do not see every day.
Sometimes the difference between an ordinary image and a memorable one is simply adding an unexpected element.
Look for:
People interacting with the scene
Silhouettes
Movement
Different perspectives
A little creativity
You do not need to force it, but if opportunities appear — take them.
Because everyone can photograph the display.
Not everyone photographs the moment.
6. Experiment and Learn
This is truly what we are here for.
Experiment.
Learn.
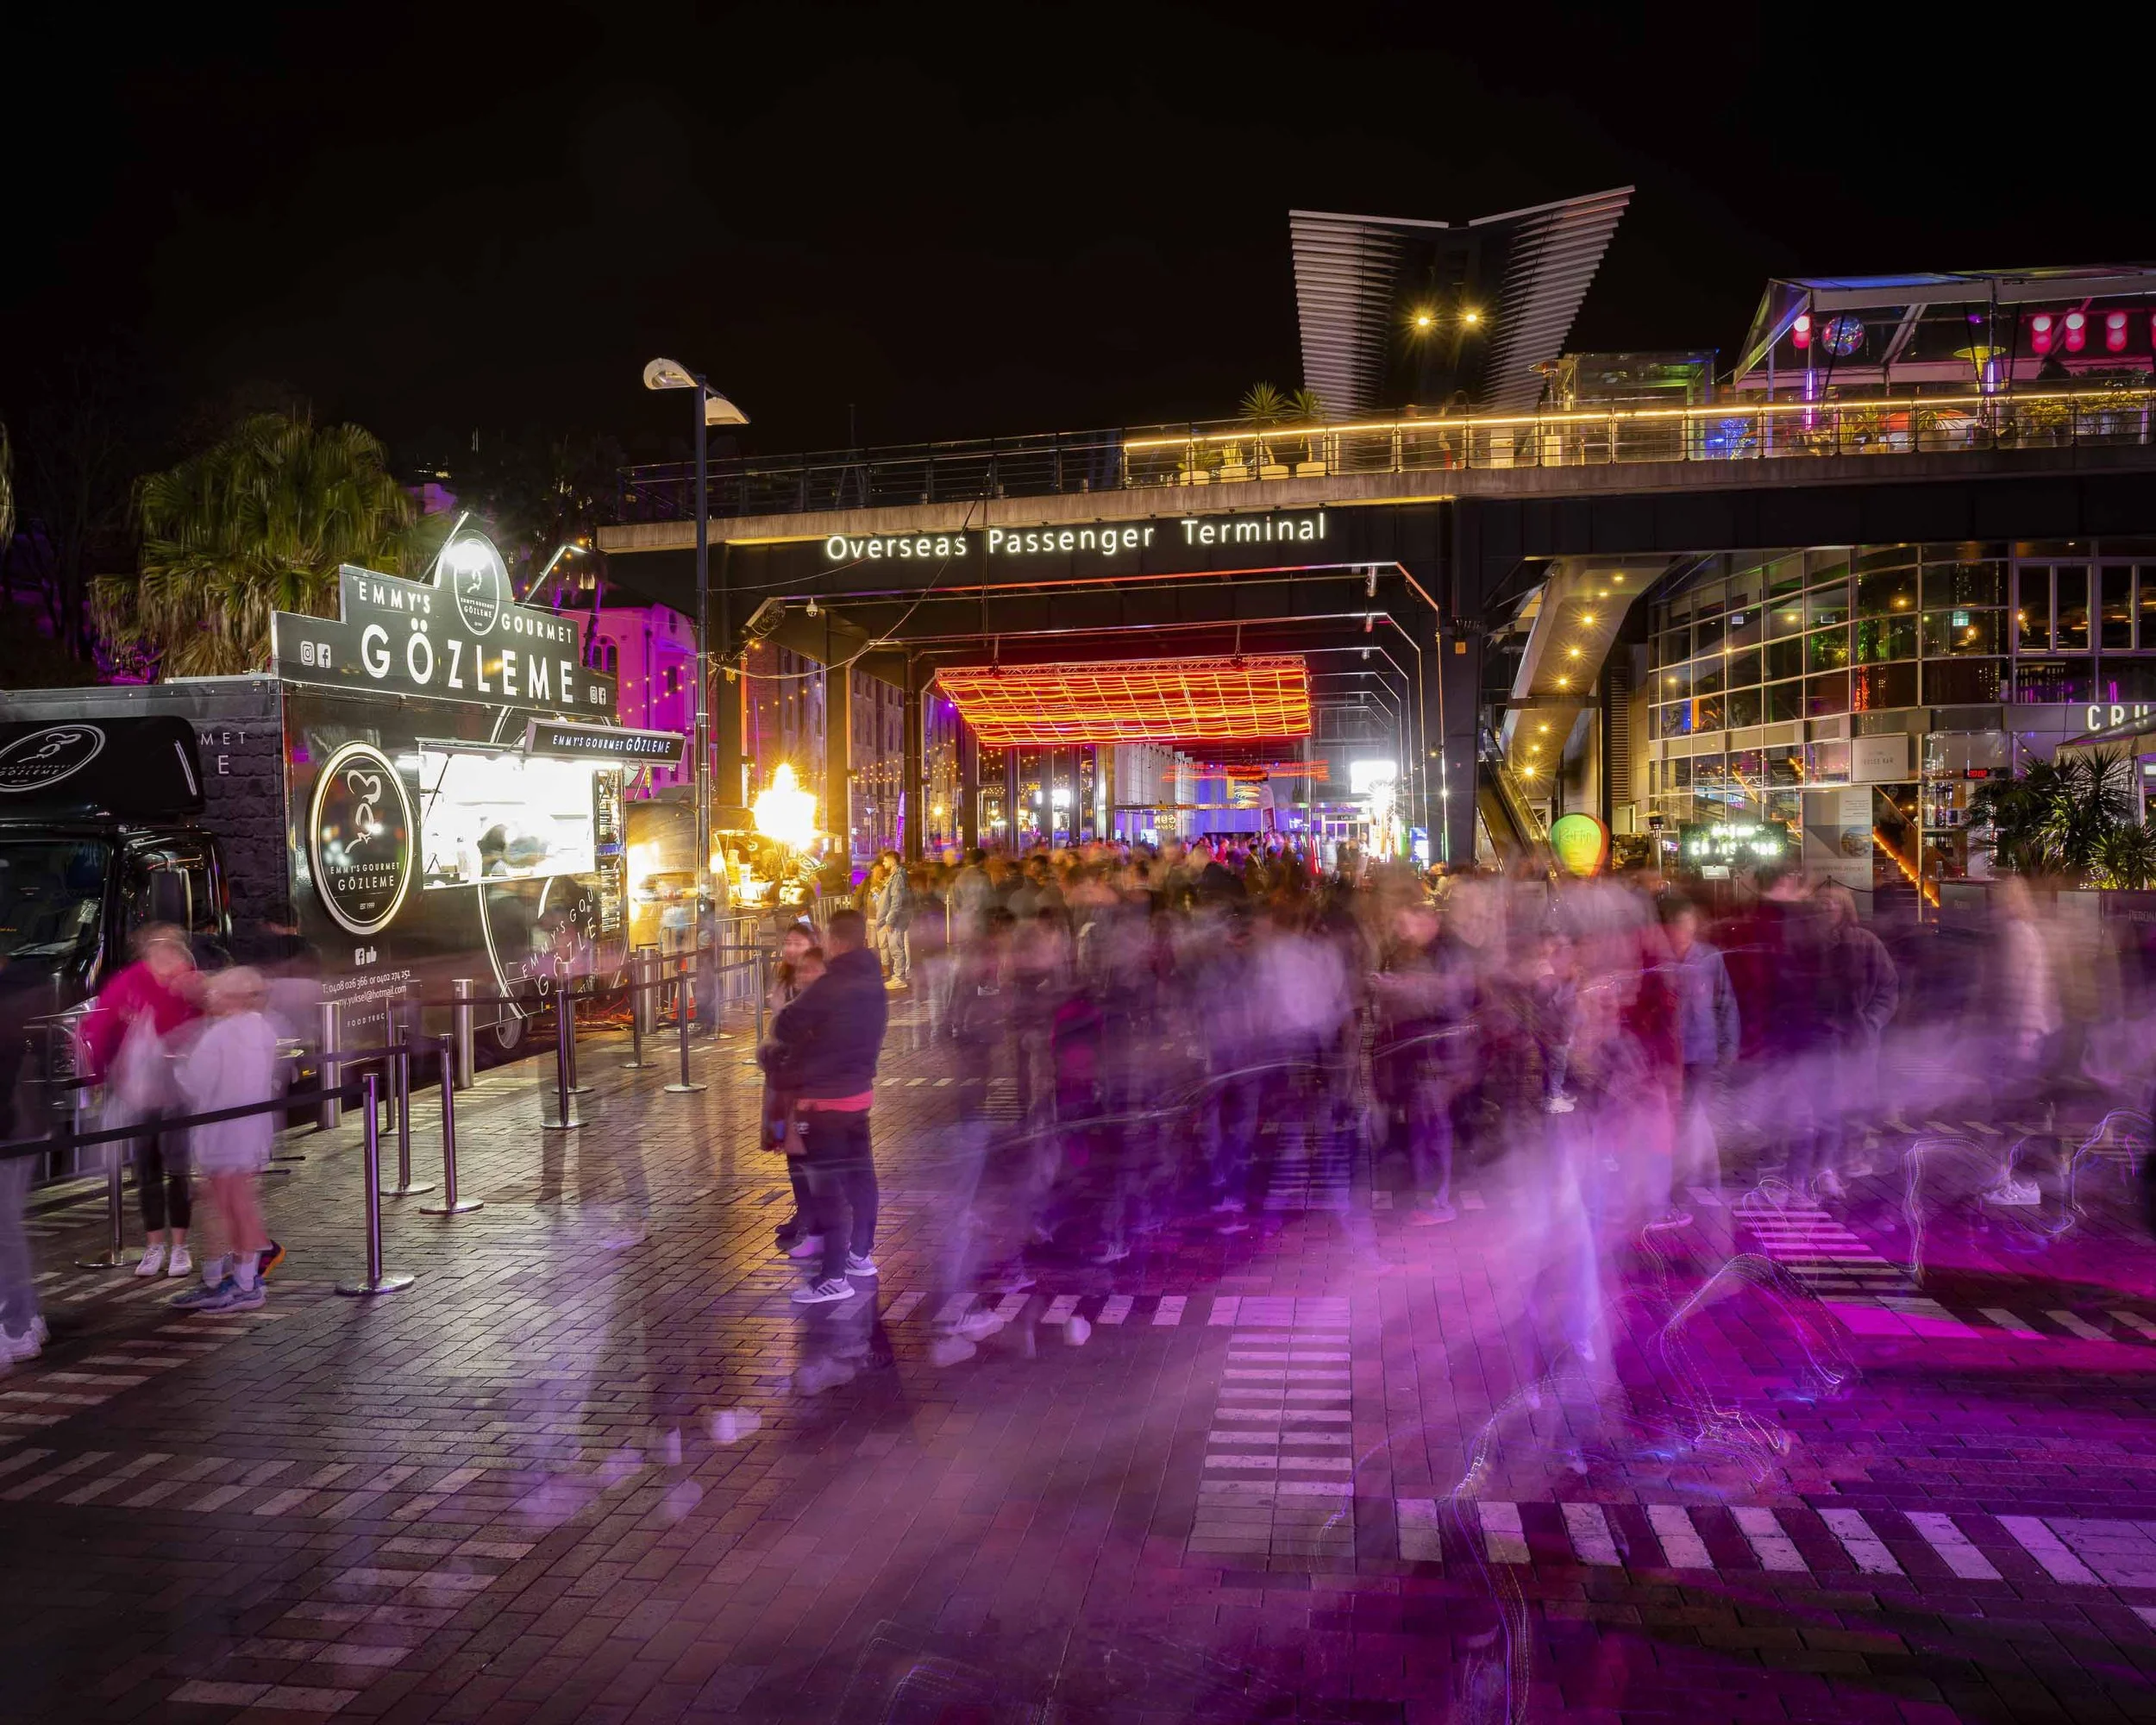
Try:
Different shutter speeds
Different angles
Intentional camera movement
Reflections
Silhouettes
Portrait orientation
Different focal lengths
Vivid gives you permission to play.
Some images will fail.
Perfect.
That means you're learning.
“The first image records the scene. A practiced & educated image often tells the story.”
7. Look for Reflections
After rain?
Even better.
Look for reflections in:
Puddles
Harbour water
Wet footpaths
Glass windows
Building surfaces
Reflections instantly add depth and visual interest and can completely change an ordinary photo.
8. Review Images... But Don't Miss the Experience
Reviewing images during the night can save disappointment later.
If you wait until you get home, you may have already missed your chance.
Check:
Is the image sharp?
Is exposure right?
Is the composition working?
Learning to review and analyse your own work is a skill in itself and something I discussed in my blog about analysing photographs like a judge.
But don't spend all night staring at the back of the camera.
I've seen photographers review every frame while missing what is unfolding right in front of them.
Shoot.
Review quickly.
Adjust.
Then get your eyes back up and enjoy the experience.
9. Shoot More Than the Main Attractions
Everyone photographs the Opera House. Look at it differently.
Challenge yourself.
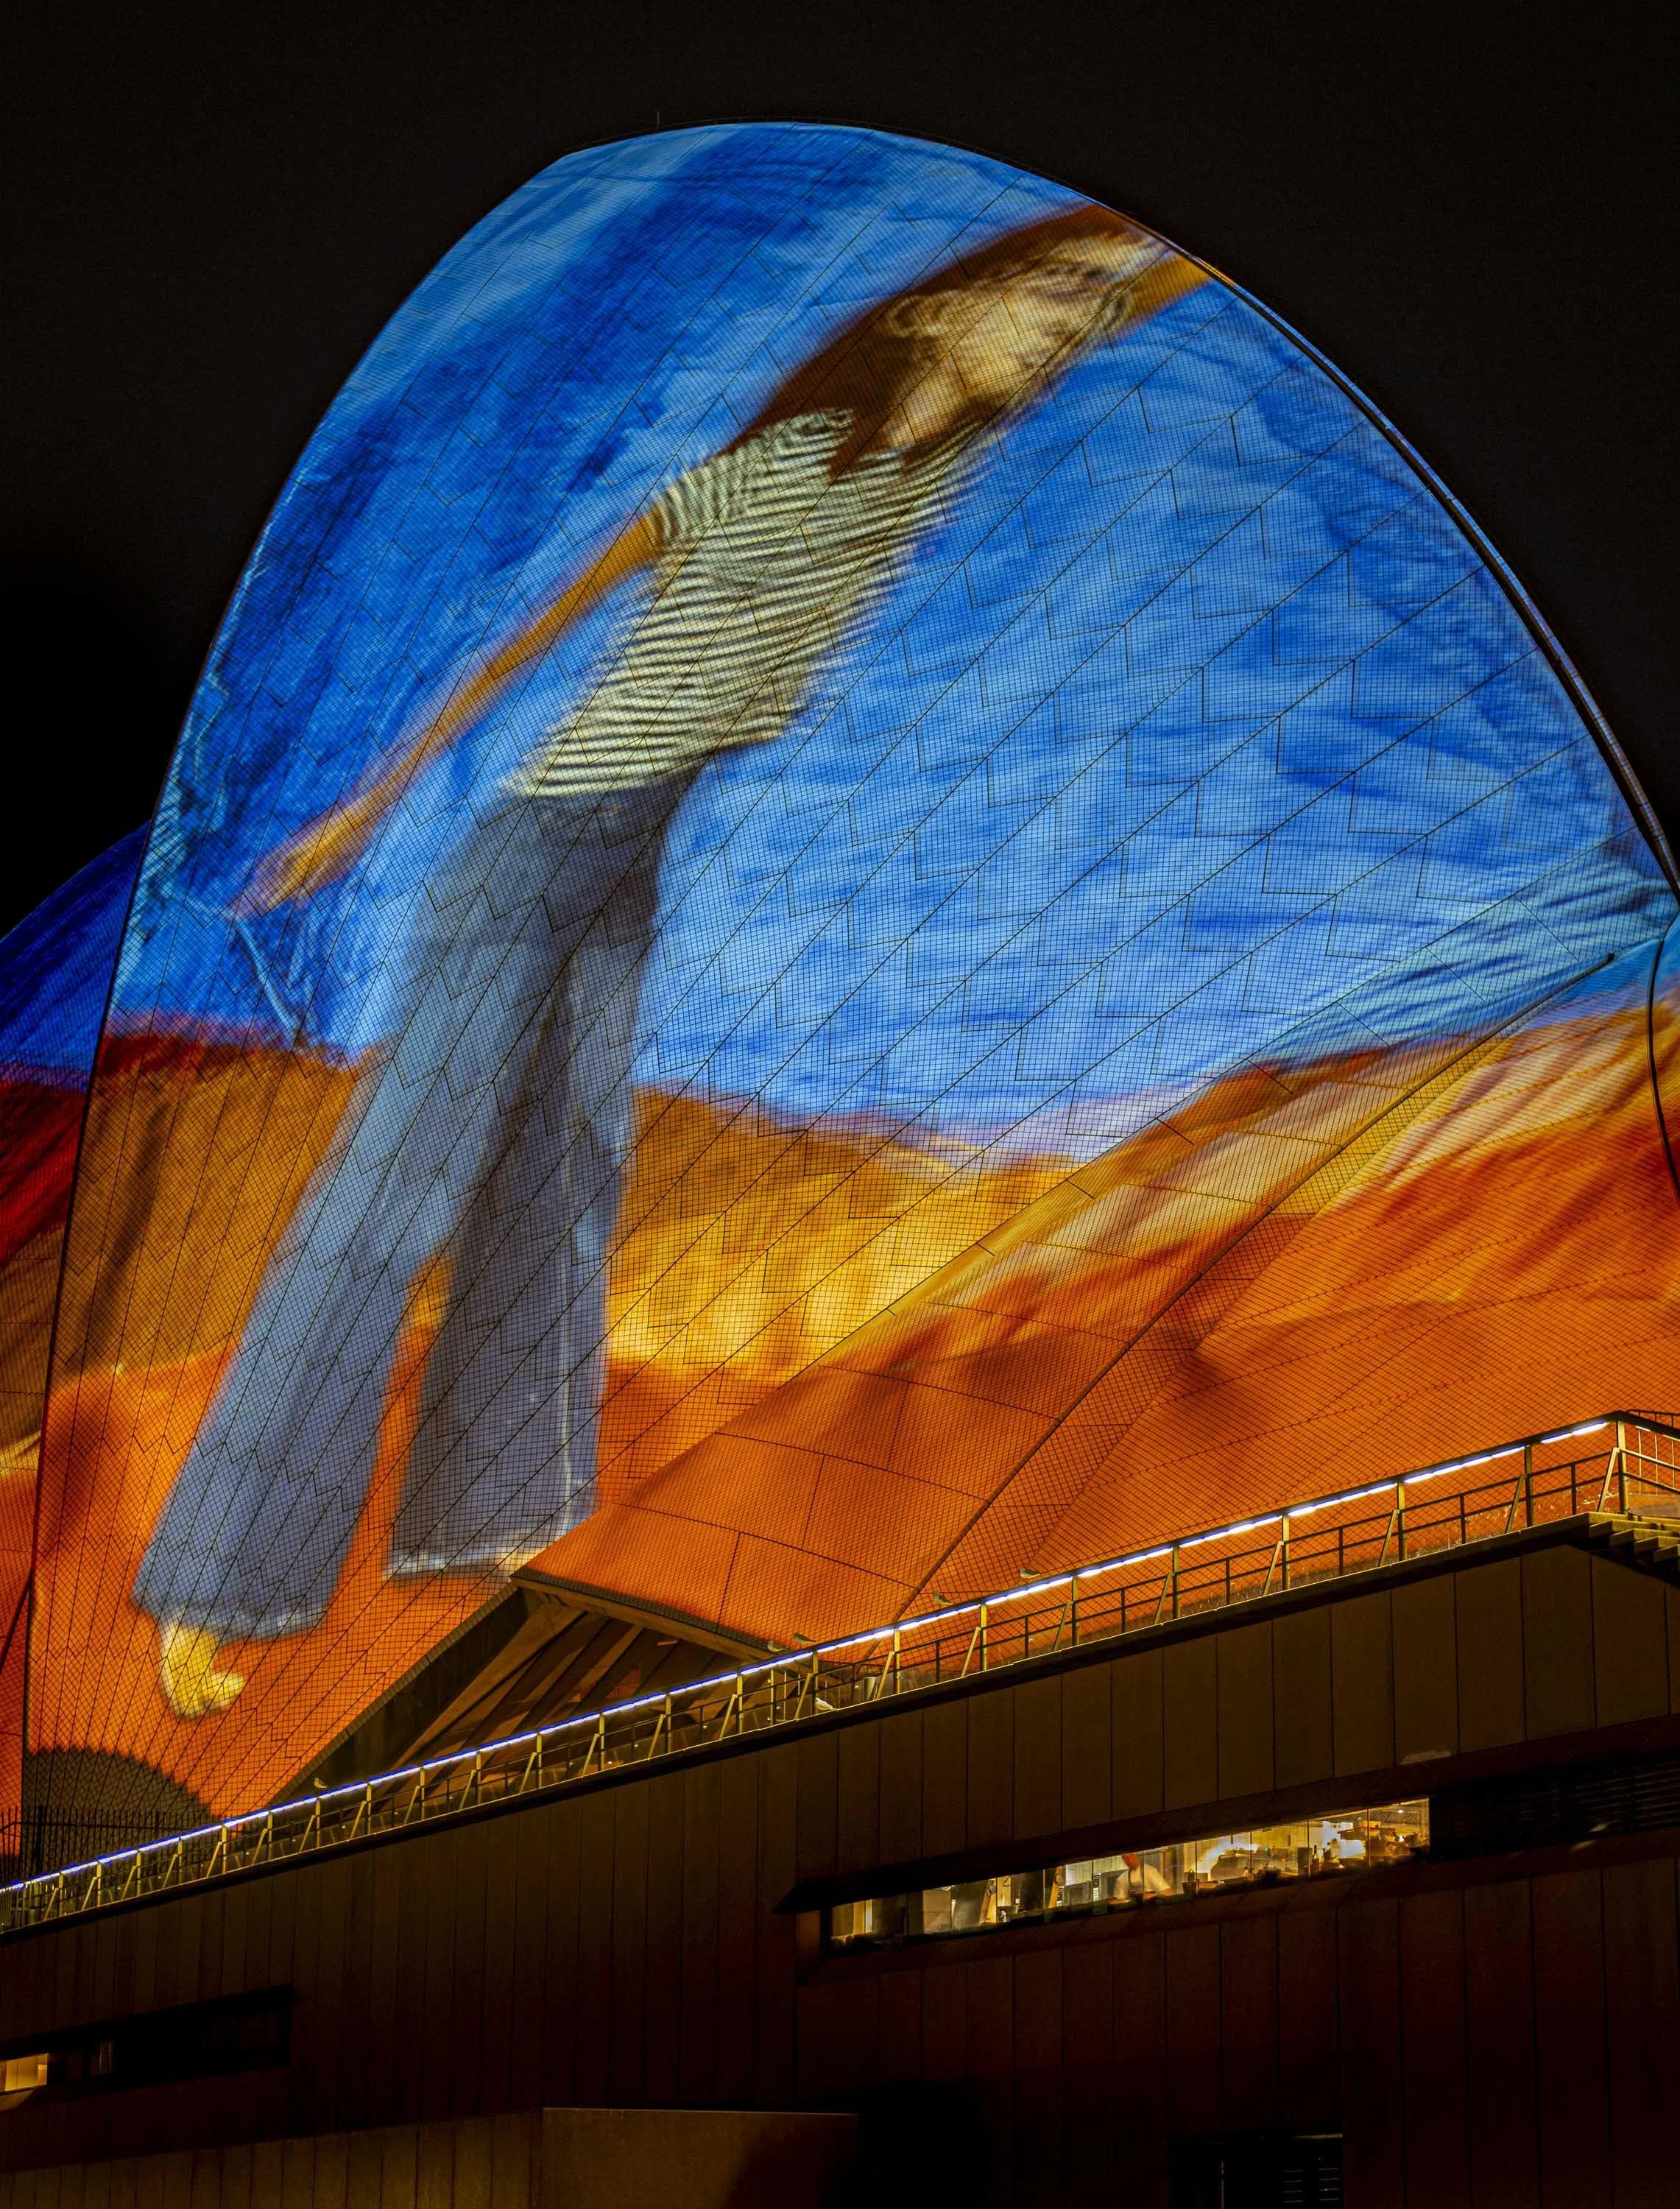
Capture:
Street performers
Food stalls
Small details
Reflections
Crowds
Hidden laneways
Individual moments
Look for a different or unusual angle
The side stories often become the memorable images.
10. Enjoy the Experience
Photography is meant to be enjoyable.
Walk slower.
Watch what people are doing.
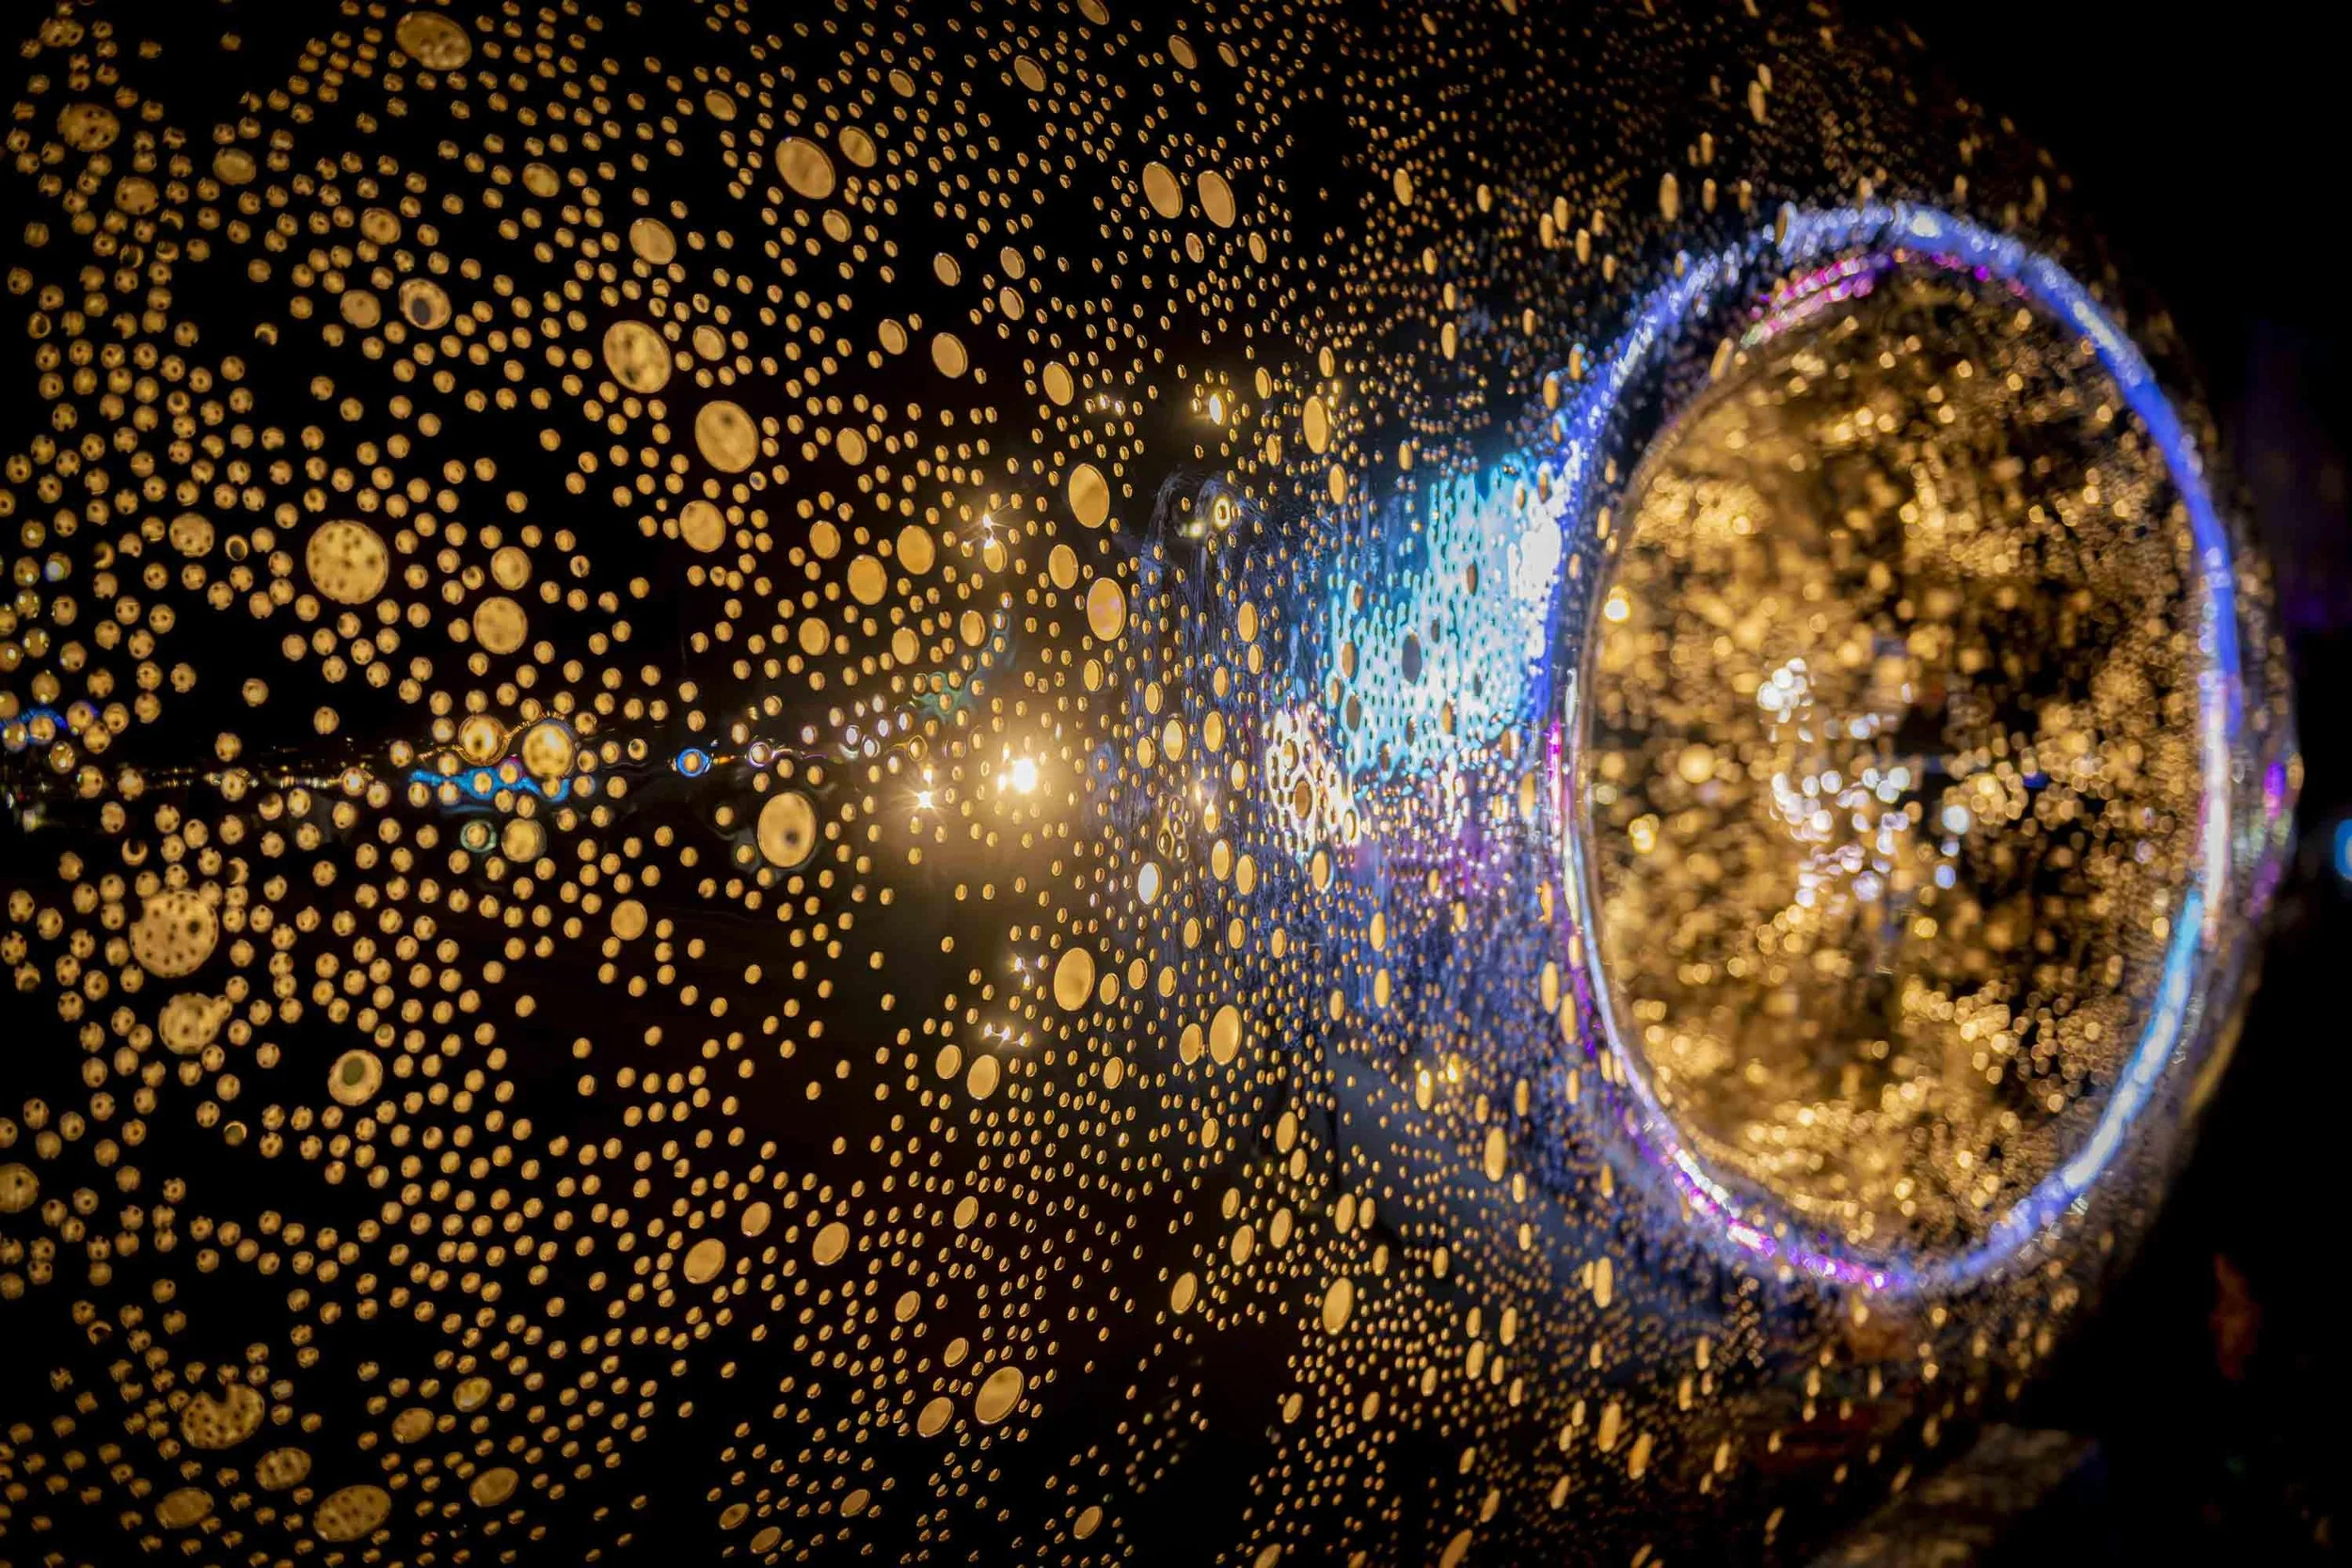
Take in the atmosphere.
Look up.
Look behind you.
Sometimes the best image of the night won't be the major attraction at all.
Vivid Sydney is more than photographing lights.
It is about experiencing creativity and learning to see differently.
Photography has always been a lifelong classroom for me and every image teaches something new.
Final Thoughts: Vivid Is About Exploration
The beauty of nights like Vivid is that there is no single "correct" image.
Two photographers can stand side by side and walk away with completely different stories.
Enjoy the experience.
Experiment.
Learn.
And most importantly — have fun.
Because long after the lights switch off, it is often the memories of chasing the shot that stay with us.
👉 Have you photographed Vivid before? I’d love to hear your favourite location, favourite image, or your own tip in the comments.