Which Mode Do I Pick? Choosing the Best Camera Mode for the Photograph
Is Using Auto Mode Cheating?
Let’s clear something up straight away.
Using an automatic camera mode is not cheating, and shooting in Manual mode doesn’t automatically make someone a better photographer.
There seems to be an unwritten rule floating around some photography circles that says:
Beginners use Auto.
Serious photographers use Manual.
Professionals never let the camera make decisions.
After more than 15 years photographing landscapes, sport, events, portraits, photojournalism and everything in between, I can confidently say that simply isn’t true.
I use all the modes on my camera.
The mode I select depends on what I’m photographing, how quickly the scene is changing, how much control I need and what I want the finished photograph to look like.
A good photographer doesn’t stubbornly use one mode for everything.
A good photographer uses everything available to get the shot.
Camera Modes Are Tools, Not Levels of Achievement
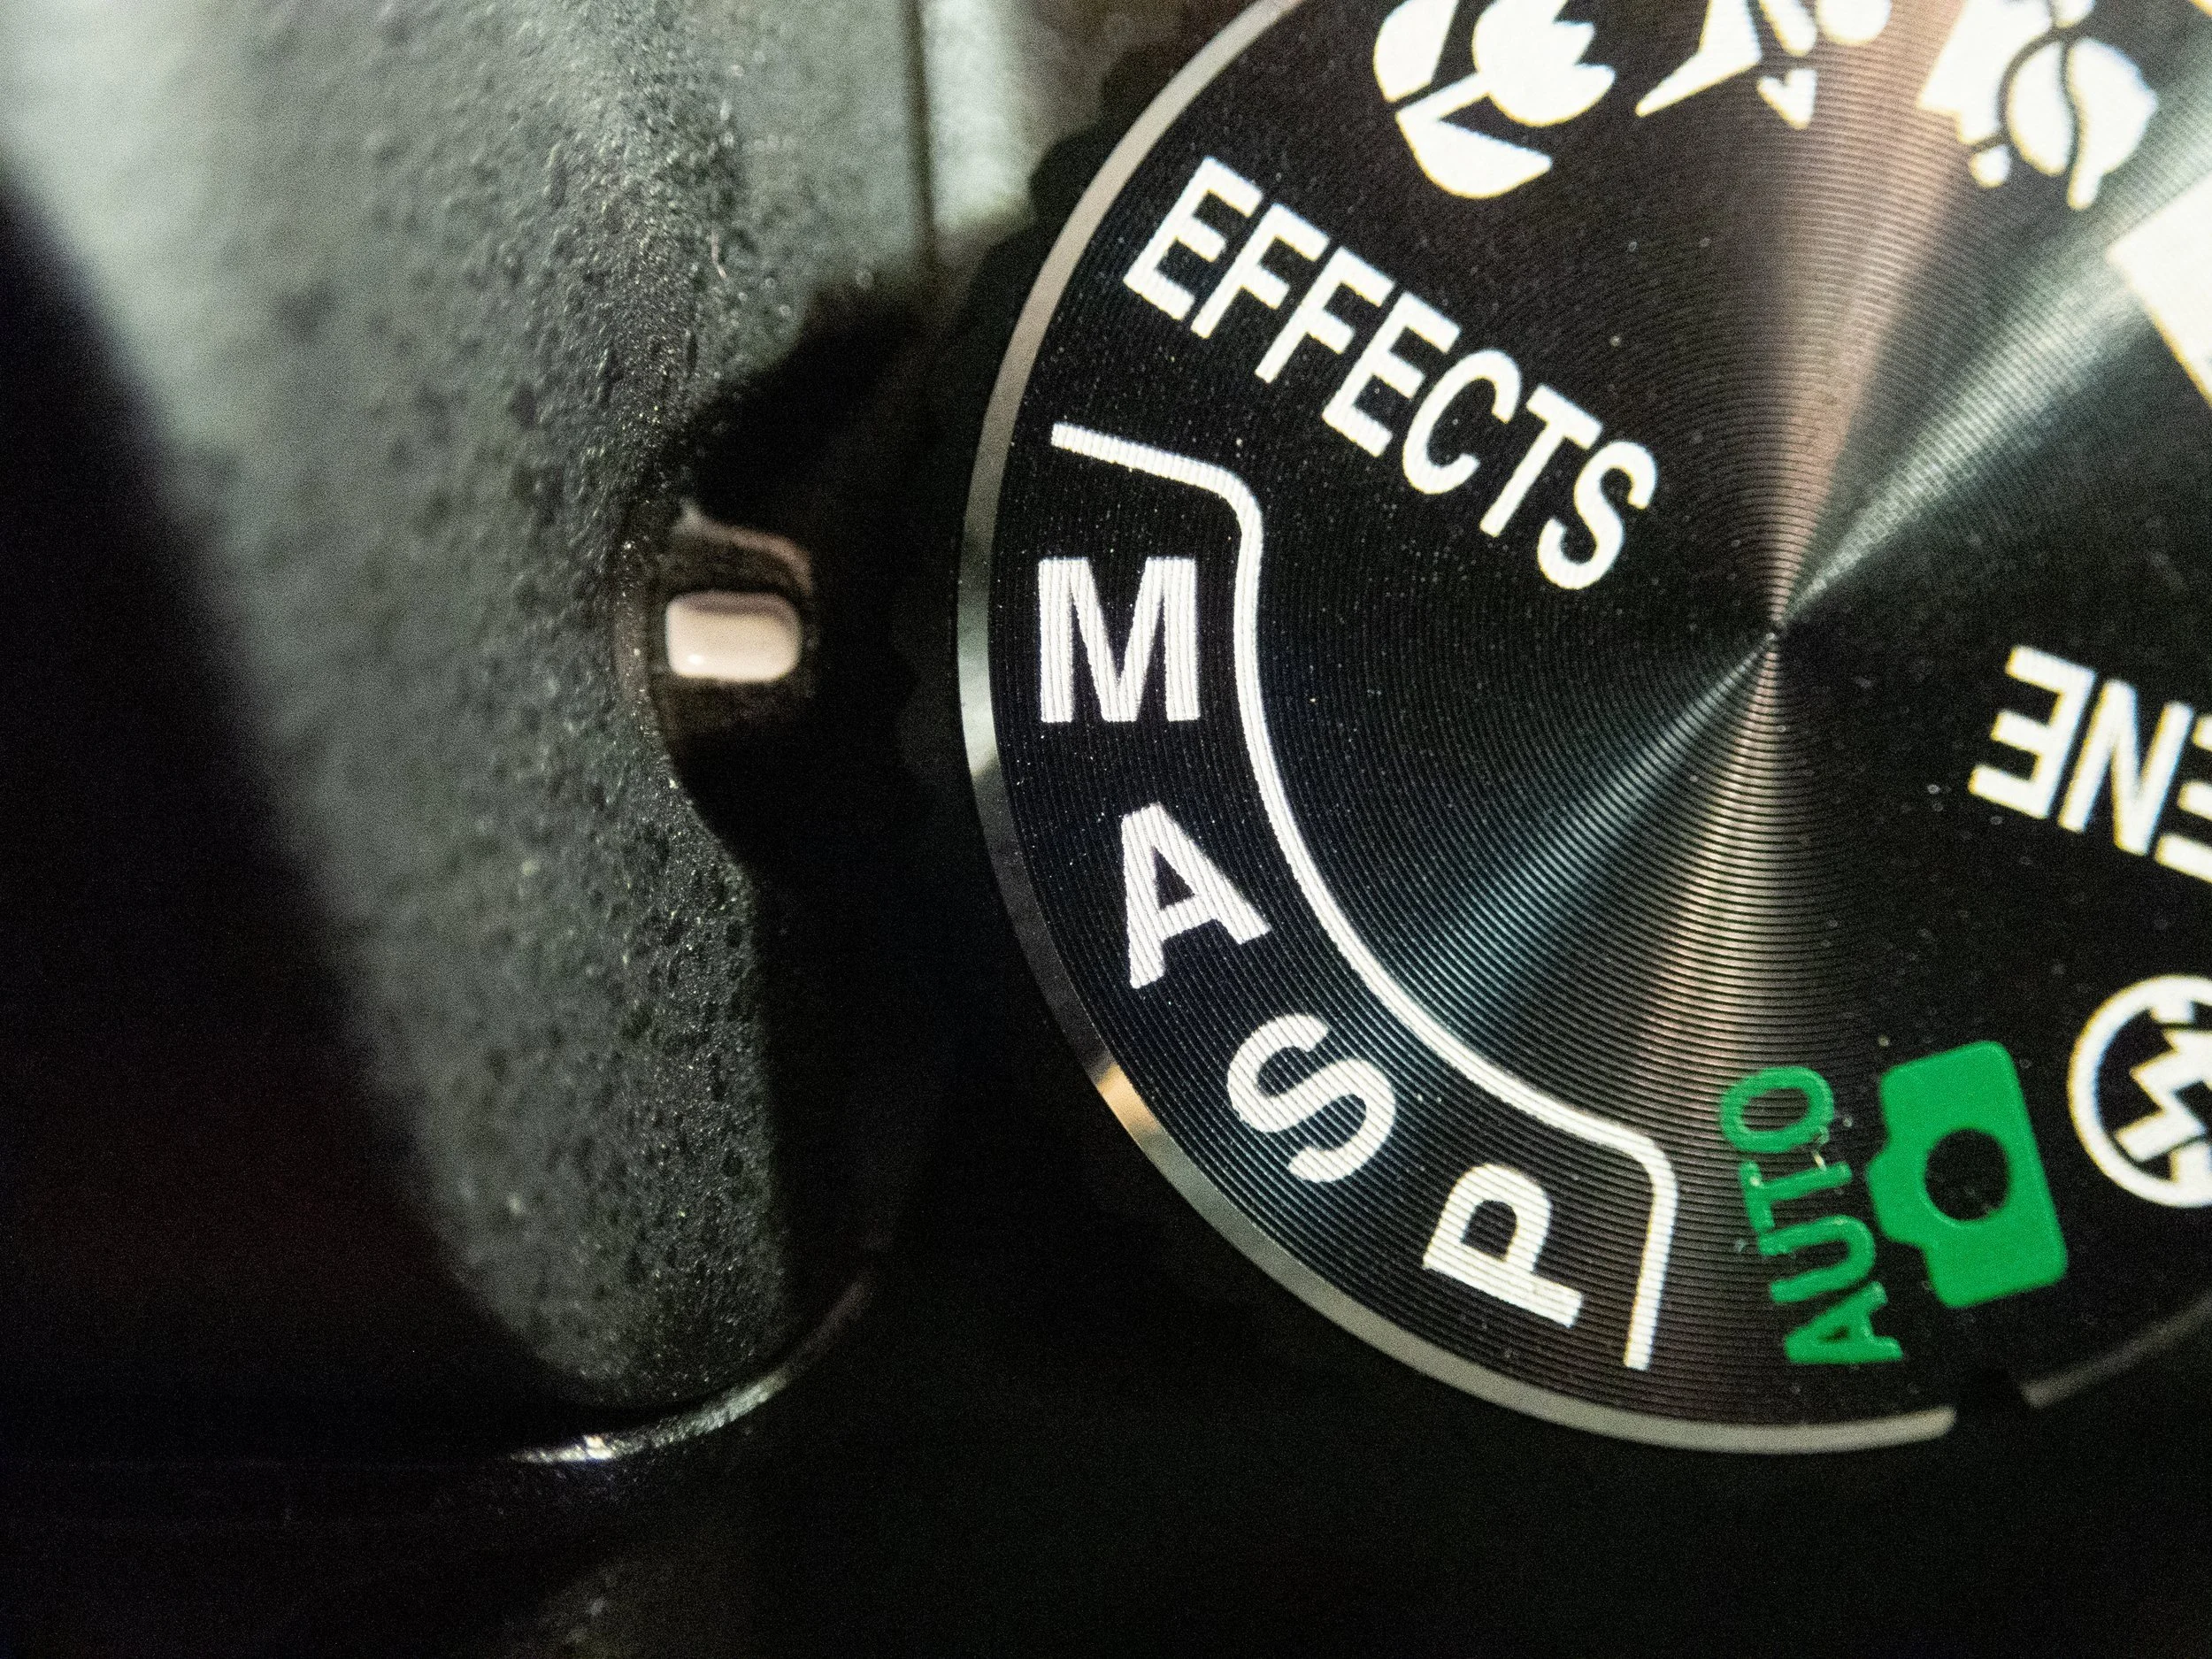
Your camera mode dial isn’t a ranking system.
There is an old photography joke:
A is for Amateur, P is for Photographer and M is for Master.
It may get a laugh, but it isn’t how photography actually works.
Manual isn’t the top level you unlock after completing photography. Auto isn’t a set of training wheels that must be thrown away as quickly as possible.
Every camera mode has a purpose.
The real skill is understanding what each mode does and knowing when it will help you create the photograph you have in mind.
That’s what photographic knowledge gives you: choice.
The more you understand your camera, exposure and light, the easier it becomes to select the best camera mode for the situation. You’re no longer guessing or following someone else’s rules. You’re making an informed creative decision.
“The camera mode is only the method. The photograph is the message.”
So, which mode should you pick?
Let’s break them down.
Auto Mode: When Capturing the Moment Comes First
In full Auto mode, the camera makes most of the technical decisions for you.
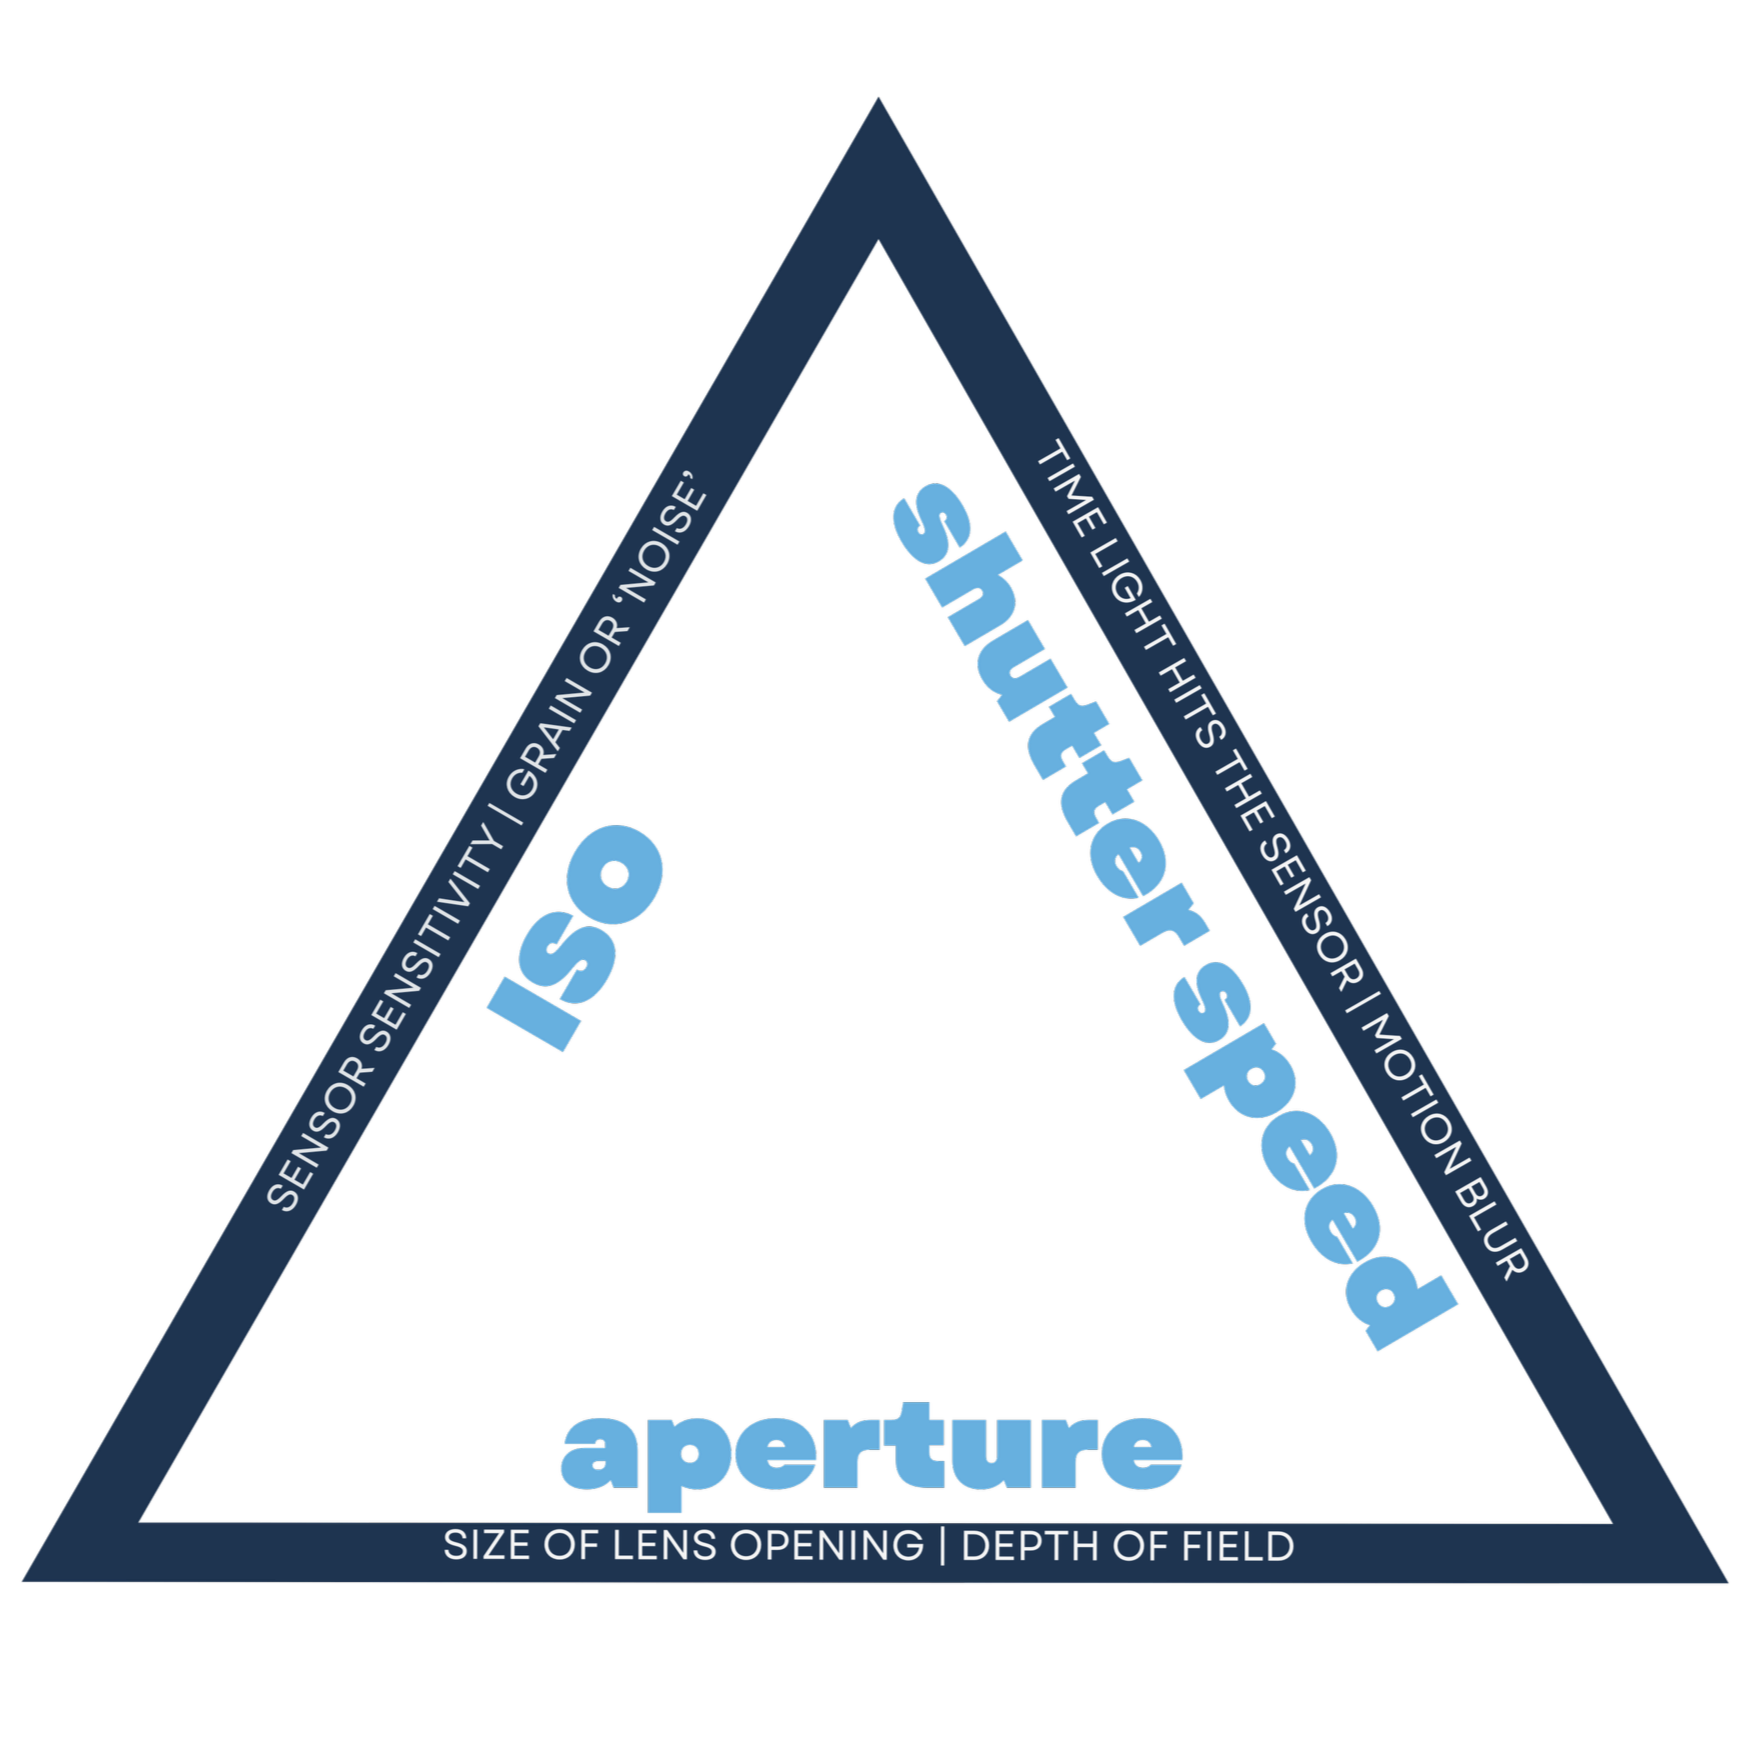
Depending on the camera, that may include:
Aperture
Shutter speed
ISO
White balance
Autofocus settings
Whether the flash fires
That doesn’t mean you aren’t creating the photograph.
You still decide where to stand, what to include in the frame, when to press the shutter and which moment matters.
You are still responsible for the composition, perspective, timing and story.
Auto can be a useful starting point for beginner photographers who are still learning about composition, light and timing. It allows you to enjoy photography without feeling overwhelmed by every camera setting at once.
Its limitation is that the camera doesn’t understand your creative intention.
It may choose a shutter speed that freezes the water when you wanted to show movement. It may choose an aperture that gives you more or less depth of field than you intended. It may activate the flash when you would prefer to use the natural light.
Auto mode is not cheating.
However, as your confidence grows, learning the other camera modes will give you greater control over the finished photograph.
For photographers who are still choosing their first camera or trying to understand what features they really need, my article Choosing Your First Camera. Let’s Talk About It is a useful place to begin.
Program Mode: Fast, Flexible and Often Misunderstood
Program mode is usually marked with a P on the camera dial.
In Program mode, the camera selects a suitable combination of aperture and shutter speed. Unlike full Auto, you will usually retain more control over settings such as ISO, exposure compensation, autofocus and white balance.
Many cameras also allow you to shift between different aperture and shutter-speed combinations while maintaining a similar exposure.
Alongside Program mode, many beginner and enthusiast cameras also provide dedicated Scene modes designed for particular styles of photography.
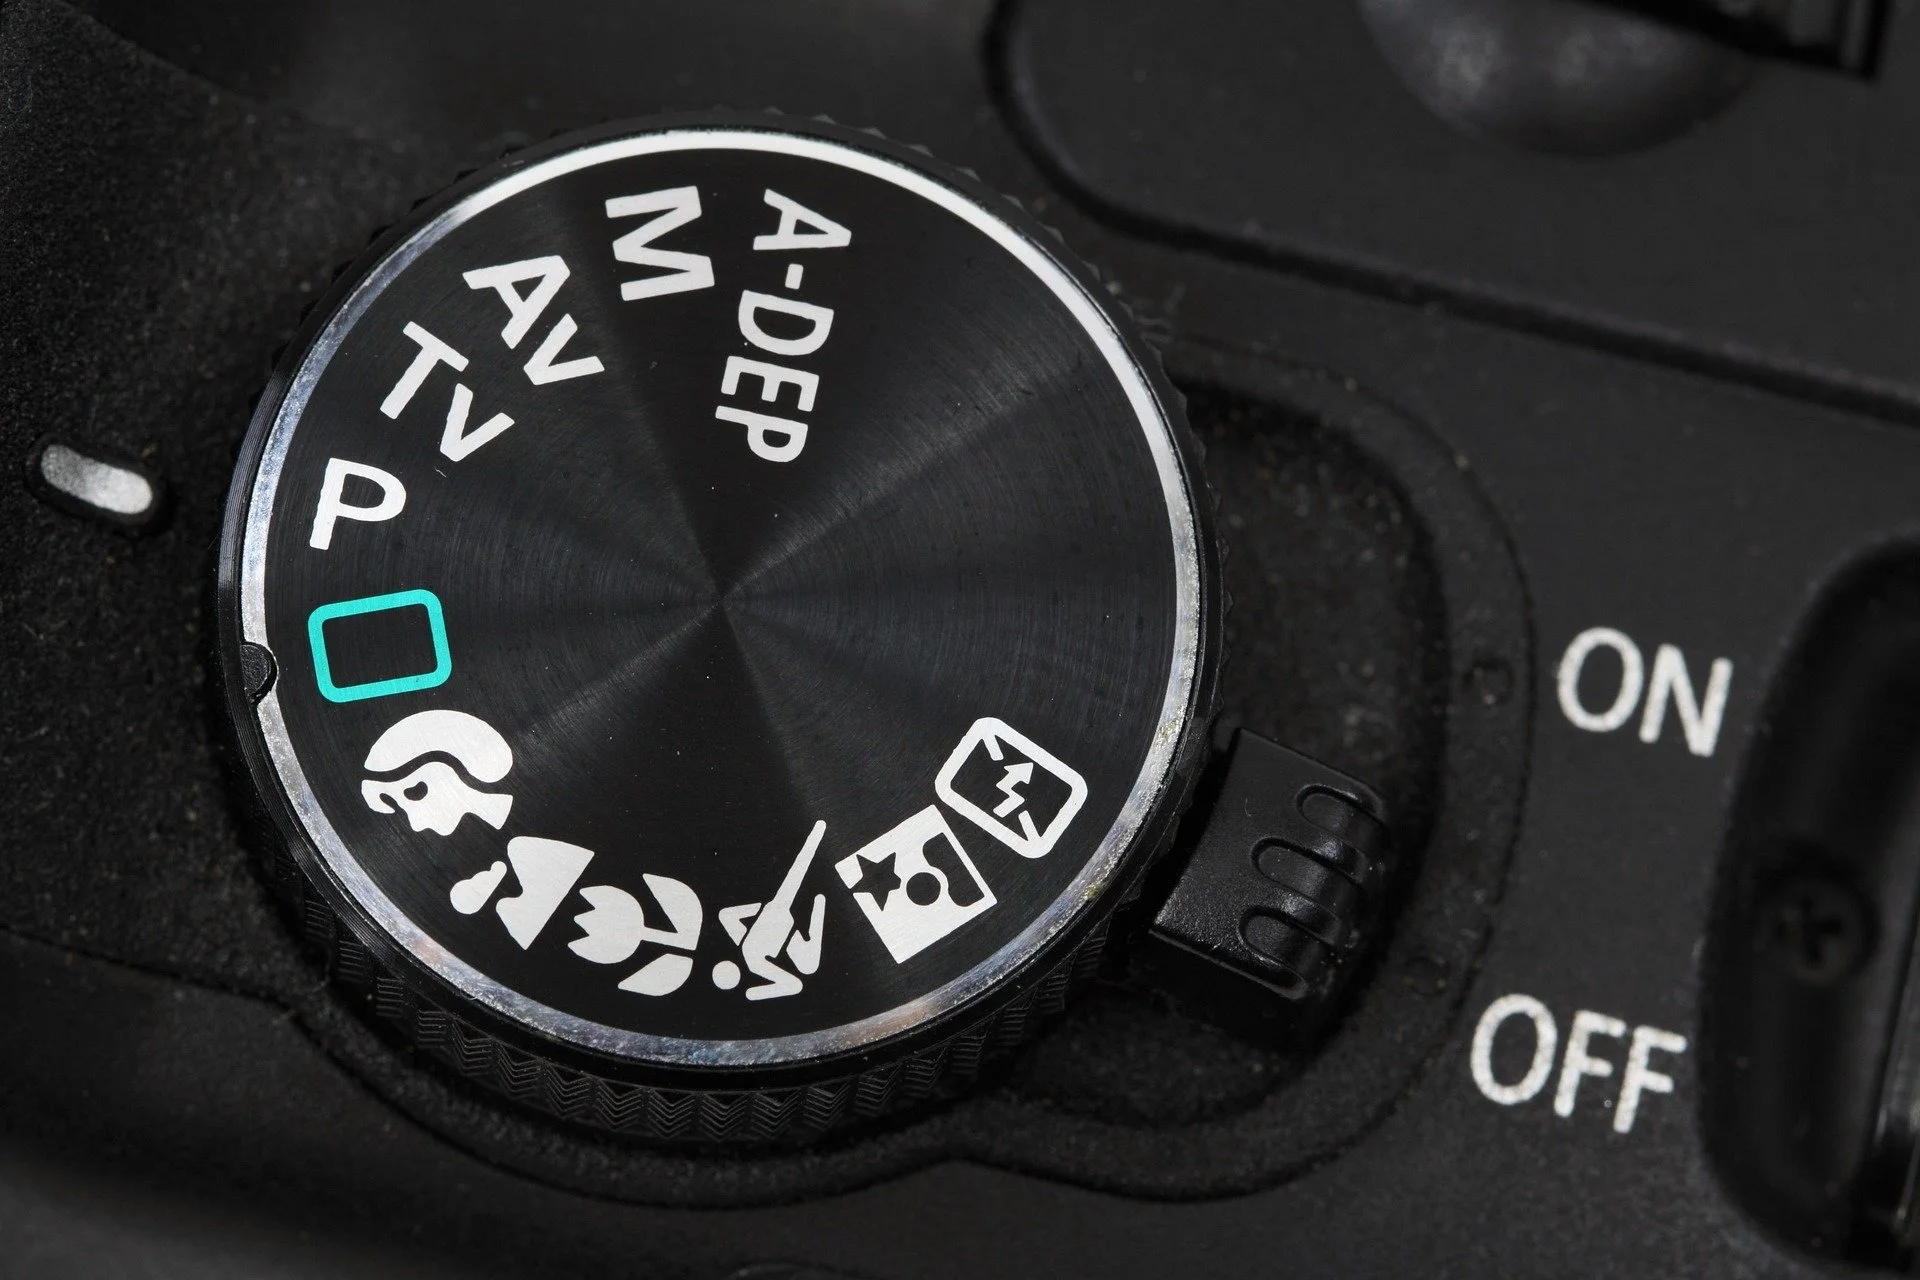
These may include:
Sport
Landscape
Portrait
Macro or close-up
Night photography
Action
Children
Pets
Selecting one of these modes gives the camera more information about what you’re photographing. It narrows down your creative intention and helps the camera choose settings that are more appropriate for the subject.
For example, Sport mode may favour a faster shutter speed to freeze movement. Portrait mode may favour a wider aperture to soften the background. Landscape mode may aim for greater depth of field, while Macro mode may adjust autofocus behaviour for subjects close to the camera.
The camera is still making technical decisions, but you are giving it more specific instructions about what you’re photographing and the style of image you’re hoping to create.
Program and Scene modes can be useful for:
Travel photography
Family gatherings
Events
Street photography
Fast-changing situations
General walk-around photography
Learning how different settings affect an image
They allow you to respond quickly without rebuilding your exposure every time the light changes.
When the moment matters more than manually adjusting every setting, Program mode can be a perfectly sensible choice.
Aperture Priority: Control How Much of the Photograph Is Sharp
Aperture Priority is marked A on Nikon and many other cameras, or Av on Canon cameras.
You select the aperture, and the camera chooses the shutter speed needed to create the exposure.
Aperture controls depth of field, or how much of the photograph appears acceptably sharp.
A wider aperture, such as f/2.8, can help separate a subject from the background. A narrower aperture, such as f/8 or f/11, can provide greater depth of field throughout a landscape.
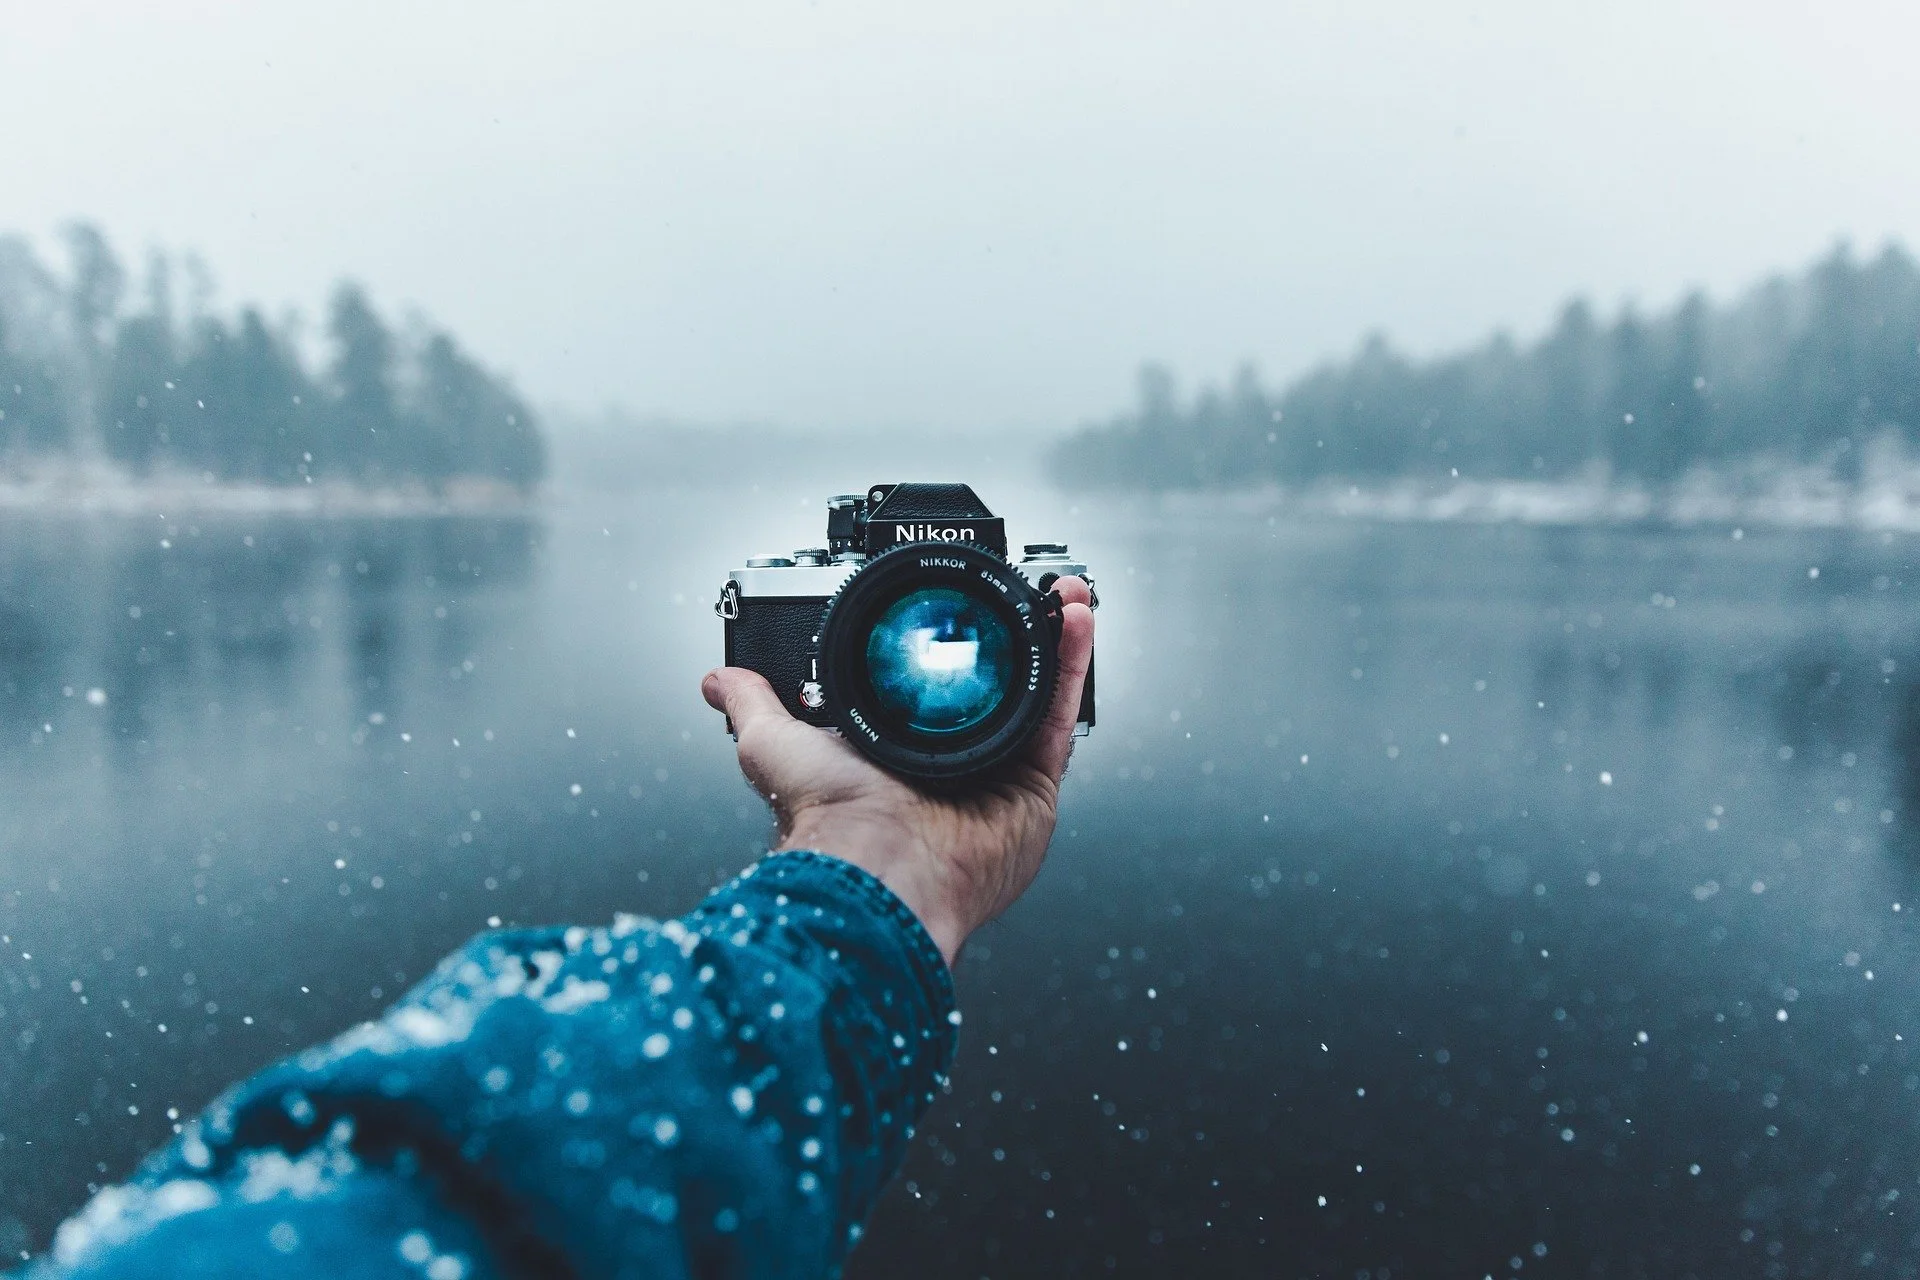
Aperture Priority can be useful for:
Portraits
seascapes
Landscapes
Street photography
Travel
Macro and close-up photography
Architecture
General everyday photography
I regularly use Aperture Priority when depth of field is my main concern and the light is changing.
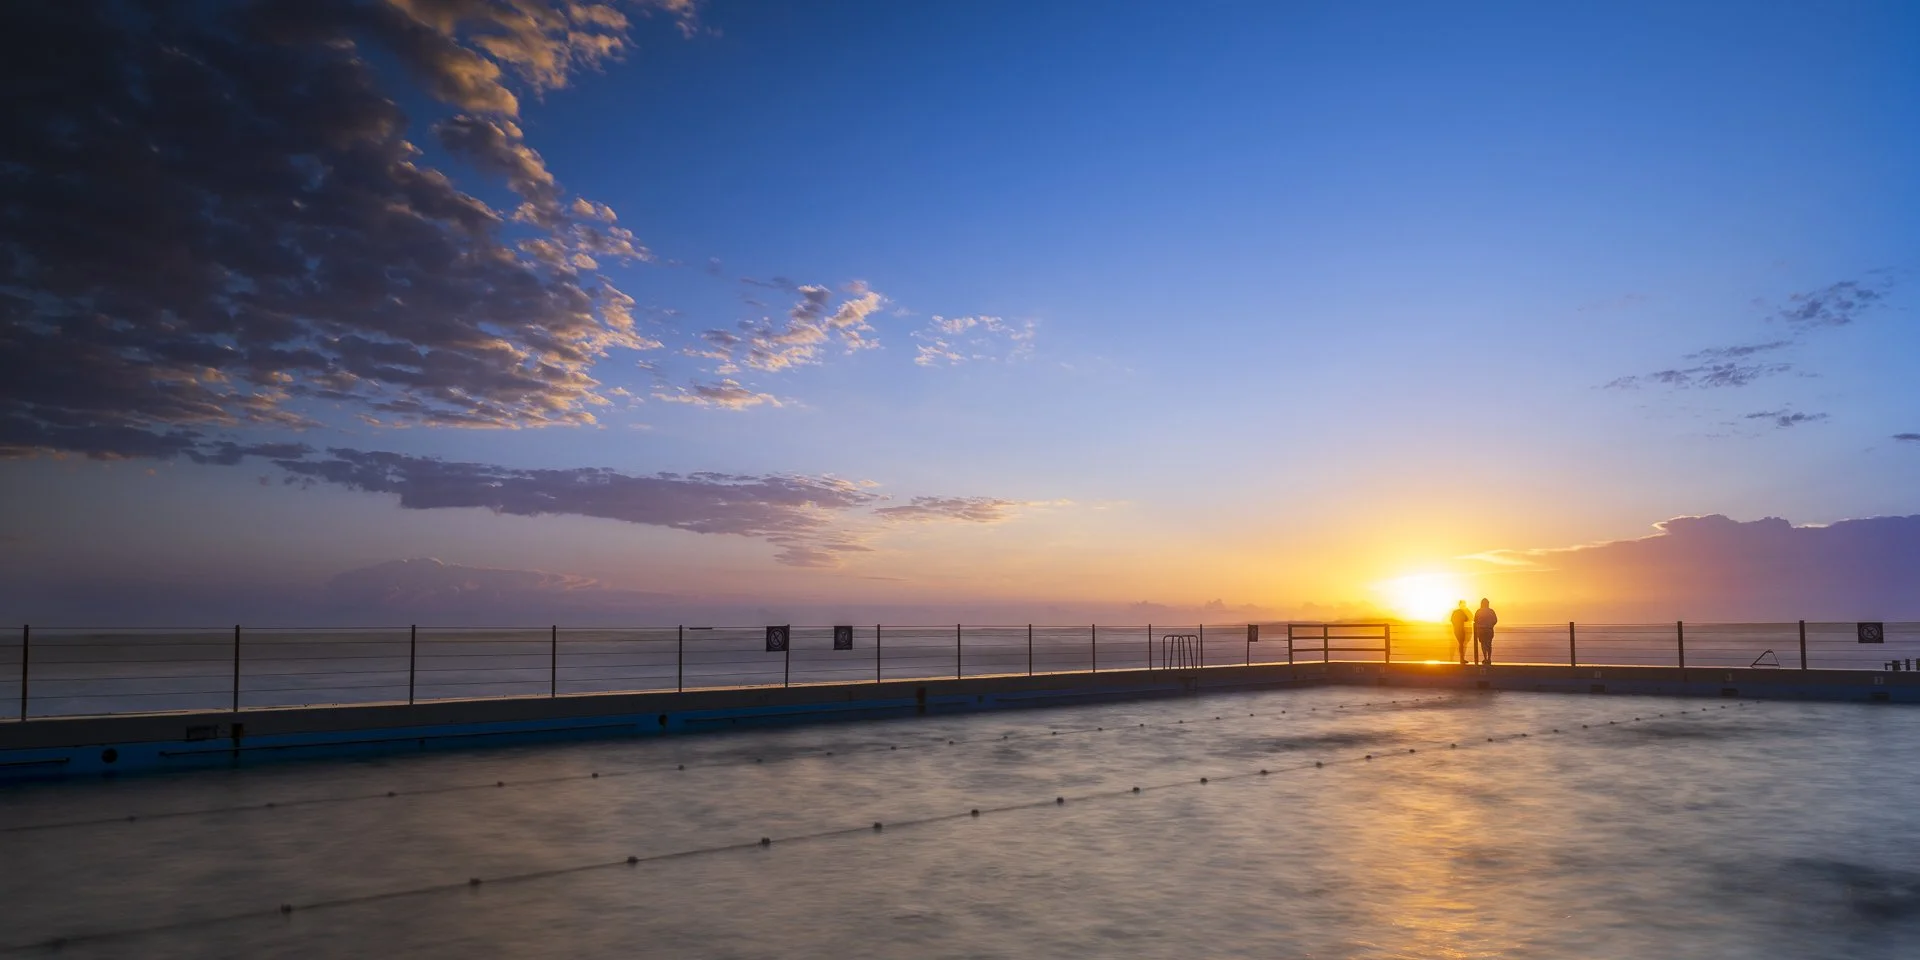
During sunrise, for example, the brightness can change quickly. Aperture Priority allows me to choose the depth of field I need while the camera adjusts the shutter speed as the light develops.
This is particularly useful during blue hour and sunrise, when the available light can change rapidly. In my guide, Blue Hour Photography Tips: The Entrance, Central Coast NSW, I explain how I approach these changing conditions using shutter speed, longer exposures, composition and filters.
I still watch that shutter speed carefully.
If it becomes too slow for handheld photography or a moving subject, I can raise the ISO, open the aperture, use a tripod or change modes.
That’s the important part: I’m not handing over every decision.
I’m asking the camera to manage one part of the exposure while I concentrate on the element that matters most to the photograph.
Shutter Priority: Control Movement
Shutter Priority is marked S on Nikon and many other cameras, or Tv on Canon cameras.
You select the shutter speed, and the camera chooses an appropriate aperture.
This mode is ideal when movement is the most important part of the photograph.
A fast shutter speed can freeze a footballer, bird, breaking wave or moving vehicle. A slower shutter speed can introduce motion blur, show the movement of water or create a panning effect.
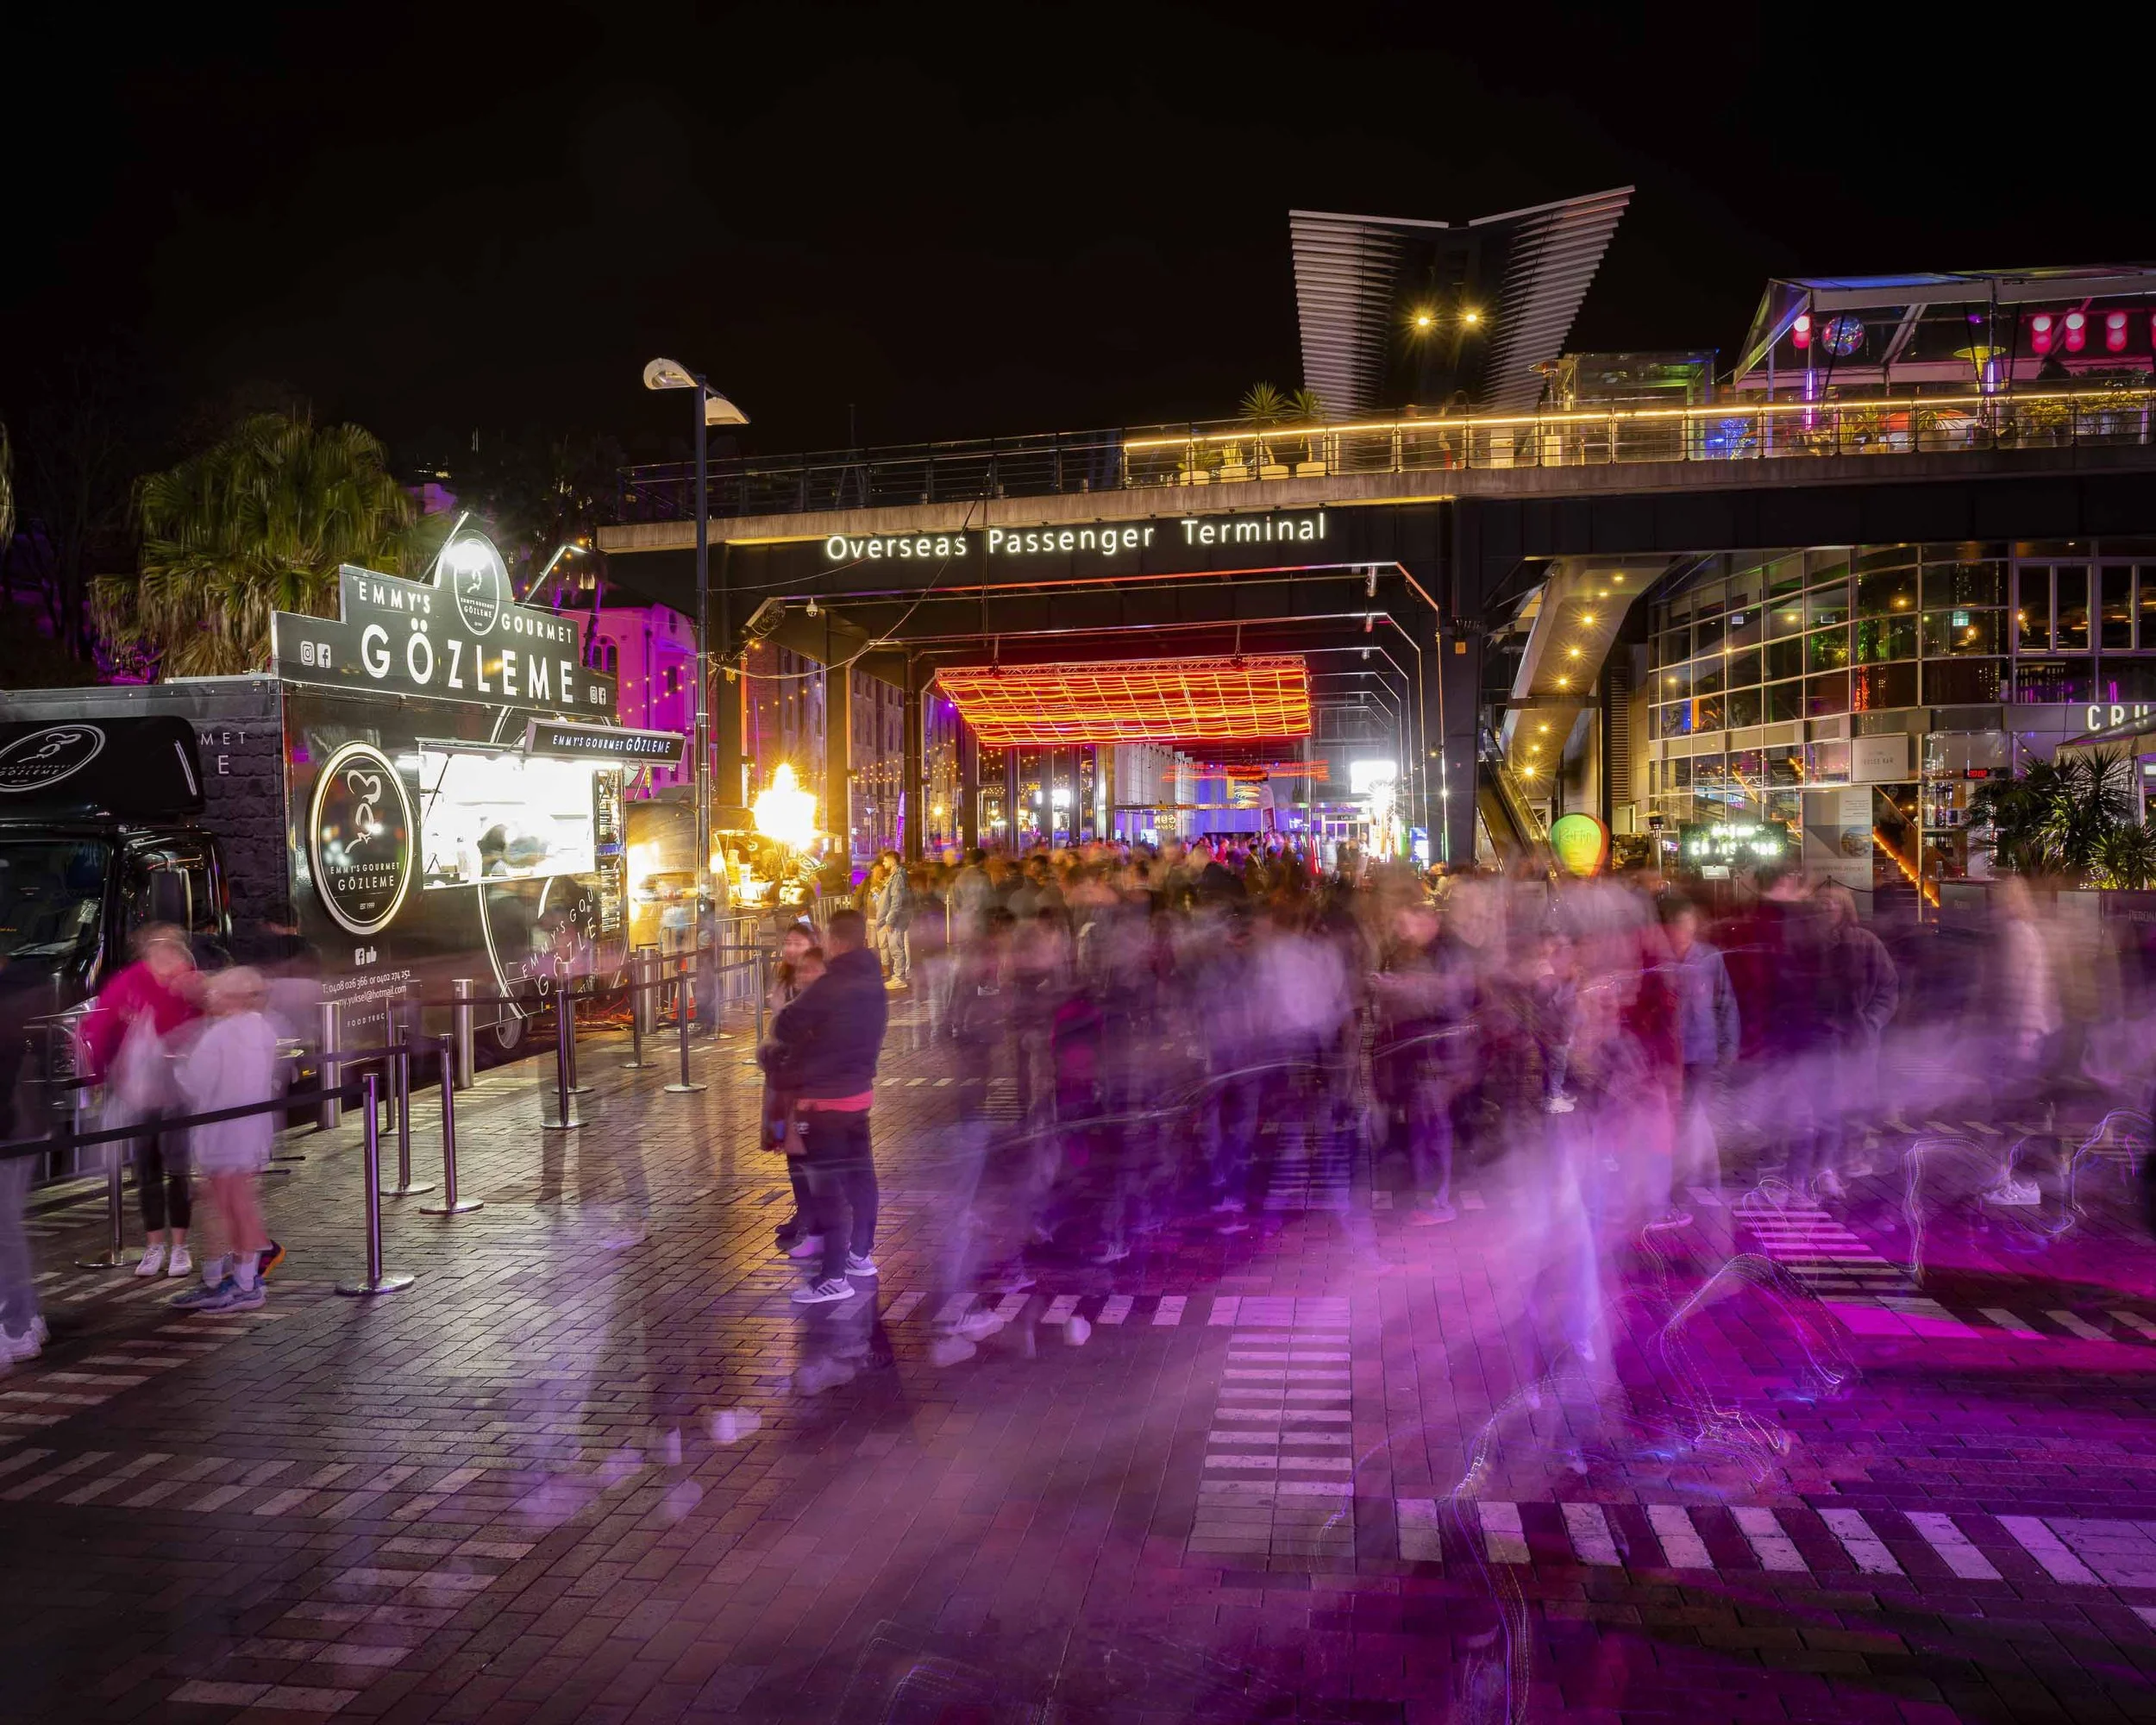
Shutter Priority can be useful for:
Panning
Intentional motion blur
Panning
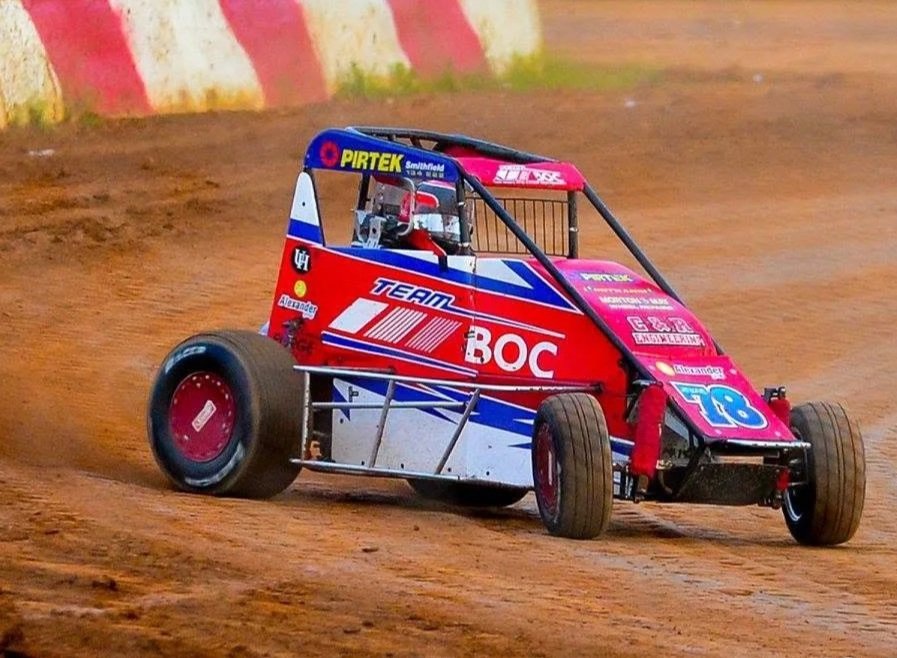
Sport
Wildlife
Birds in flight
Motorsport
Waves
Children and pets
During my years photographing sport, the most important exposure decision was often the shutter speed.
I needed enough speed to freeze the action, or a deliberately slower shutter speed when I wanted to pan with a moving subject and create a sense of motion.
The camera could respond to small changes in light while I concentrated on timing, focus, positioning and capturing the peak moment.
That isn’t laziness.
It is understanding the camera and using it efficiently.
Manual Mode: Complete and Consistent Control
Manual mode allows you to select both the aperture and shutter speed.
You may also set the ISO manually, although Manual mode can be combined with Auto ISO on many modern cameras.
Manual is especially useful when the light is controlled, predictable or needs to remain consistent across a series of photographs.
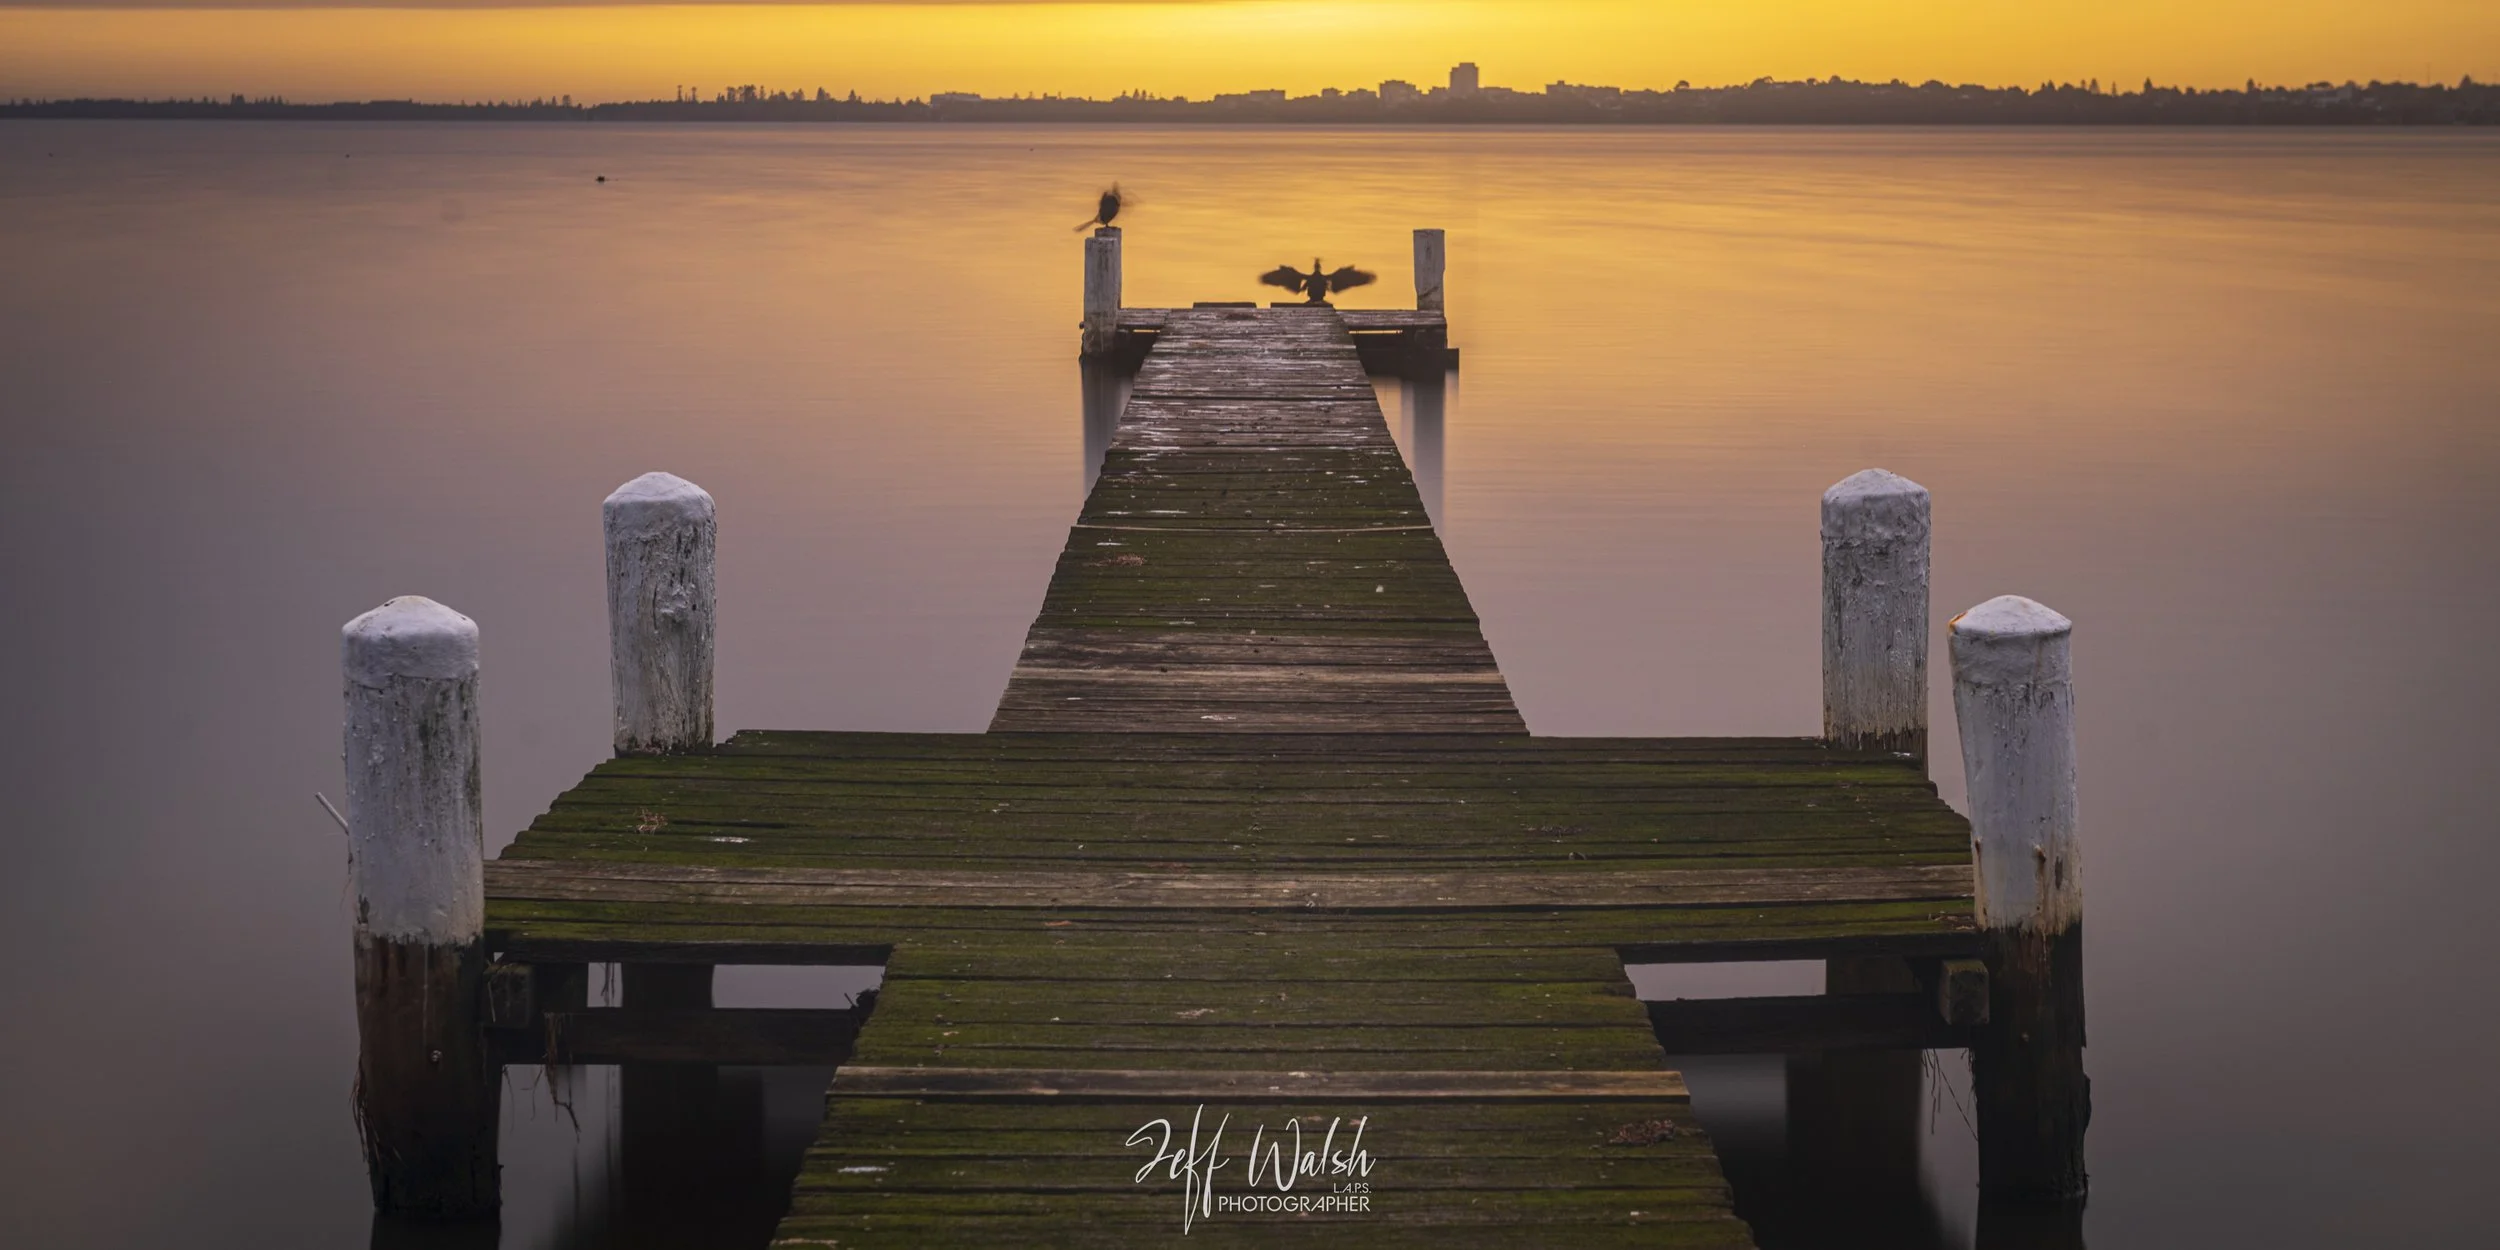
Manual is especially useful when the light is controlled, predictable or needs to remain consistent across a series of photographs.
I may choose Manual mode for:
Studio photography
Astrophotography
Long exposures
Light trails
Panoramas and stitched images
Consistent image sequences
Flash photography
Scenes where the camera meter may be confused
Carefully controlled landscape photography
For panoramas, Manual mode helps prevent the exposure changing from one frame to the next. This gives me a consistent series of photographs to stitch together.
For long-exposure seascapes, Manual allows me to balance aperture, shutter speed, ISO and filter strength to create the amount of movement I want in the water.
During astrophotography, I want direct control over the exposure because the camera’s meter may not provide a useful reading in darkness.
Manual mode is powerful because it gives me consistency and precise control.
But it is not automatically the best option for every photograph.
When the light is changing rapidly or the subject is moving unpredictably, another mode may allow me to react more quickly and concentrate on the moment unfolding in front of me.
Auto ISO: One of the Most Useful Modern Camera Features
Auto ISO isn’t technically an exposure mode, but it can be an incredibly effective tool.
It allows the camera to adjust ISO when light levels change. Depending on your chosen mode, this can help maintain a suitable shutter speed, aperture or overall exposure.
For sport or wildlife, I might use Manual mode with Auto ISO.
That allows me to lock in the shutter speed needed to control movement and the aperture needed for depth of field, while the camera adjusts the ISO as the light changes.
For handheld photography in Aperture Priority, Auto ISO can help prevent the shutter speed from becoming too slow.
As always, I need to understand what the camera is doing.
I watch the ISO, image quality and shutter speed rather than assuming the camera will always make the perfect decision.
Automation works best when the photographer understands and supervises it.
Four Questions to Ask Before Choosing a Camera Mode
Before selecting a camera mode, I think about the photograph I’m trying to create.
Is Depth of Field My Priority?
When I need control over how much of the scene is sharp, I will often start with Aperture Priority or Manual.
Is Movement My Priority?
When I need to freeze movement, create motion blur or pan with a subject, Shutter Priority or Manual may be the better choice.
Is Consistency Important?
For panoramas, studio work, long exposures or a series of matching images, Manual gives me greater consistency.
How Quickly Is the Situation Changing?
For street photography, events, travel or unpredictable action, Aperture Priority, Shutter Priority or Program mode may help me respond faster.
The answer isn’t based on what another photographer thinks I should use.
It is based on the photograph in front of me.
Exposure Compensation: The Control Beginners Often Overlook
When using Program, Aperture Priority or Shutter Priority, the camera meter calculates what it believes is a suitable exposure.
But cameras don’t understand the emotional mood of a scene.
They measure brightness.
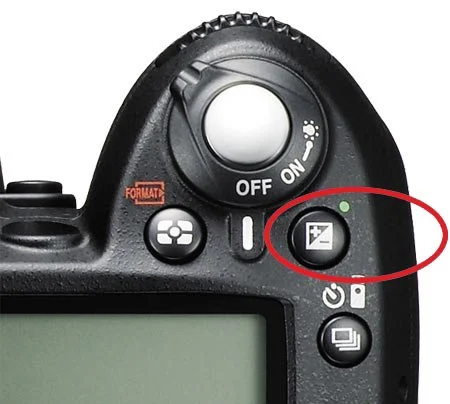
A bright beach, pale sky or snowy landscape may cause the camera to darken the photograph. A dark forest, black background or night scene may cause it to brighten the image more than you want.
Exposure compensation allows you to tell the camera:
“I understand your reading, but I want this photograph brighter or darker.”
Learning to use exposure compensation is one of the best ways to gain creative control while using semi-automatic camera modes.
You don’t have to abandon automation to take charge of the result.
Learn Manual Mode—But Don’t Become Trapped by It
I absolutely encourage photographers to learn Manual mode.
Understanding aperture, shutter speed and ISO gives you the foundation needed to recognise what the camera is doing. It opens the door to long exposures, astrophotography, studio work and many other creative techniques.
Manual mode is worth learning.
But learning Manual doesn’t mean you must use it for every photograph from that day onwards.
I want photographers to understand their cameras well enough to move confidently between modes.
I want them to recognise when the camera can help and when they need to take complete control.
The goal isn’t to prove that you can operate a camera manually.
The goal is to make stronger photographs.
A Good Photographer Uses the Whole Camera
Modern cameras are incredibly capable tools.
Autofocus tracking, subject detection, Auto ISO, exposure compensation, bracketing, focus stacking and semi-automatic exposure modes were developed to help photographers solve problems and capture photographs.
Ignoring useful camera features doesn’t make someone more professional.
Knowing how and when to use them does.
A good photographer understands:
Light
Exposure
Movement
Depth of field
Composition
Timing
Storytelling
The strengths and limitations of their equipment
They can then use that knowledge to make the best decision for the scene.
Sometimes that decision will be Manual.
Sometimes it will be Aperture Priority.
Sometimes it will be Shutter Priority, Program or even Auto.
What matters is that the chosen camera mode supports the photographer’s goal.
“A good photographer isn’t defined by shooting in Manual. They’re defined by understanding their camera well enough to choose the right tool for the moment.”
The Photograph Is What Matters
People viewing your work aren’t standing in front of a framed photograph wondering whether you used Manual, Aperture Priority or Auto ISO.
They’re responding to the light, subject, story, atmosphere and emotion.
Did the photograph hold their attention?
Did it communicate something?
Did it capture a moment that mattered?
That is what counts.
Your camera mode is simply one of the decisions that helped you get there.
Don’t let anyone convince you that using an automatic or semi-automatic mode makes you less of a photographer.
Learn your camera.
Understand the available modes.
Practise changing between them.
Then select the best tool for the photograph you want to create.
Good photography isn’t about using the most complicated setting.
It’s about making an intentional choice and bringing your vision to life.
The more you understand the controls available to you, the more freedom you have to concentrate on the light, composition, timing and story within the frame.
That is when the camera stops feeling like a complicated piece of equipment and starts becoming a creative tool.
Which camera mode do you use most often—and is it helping you create the photographs you want? Share your experience in the comments. 📸